How to Make Cement Planters: The Ultimate DIY Guide for Beautiful Home and Garden Decor
Are you looking for a fun, affordable way to elevate your indoor and outdoor spaces? Learning how to make cement planters is one of the most rewarding DIY projects you can tackle. These sturdy, modern planters add a touch of industrial chic to any setting, whether you’re growing succulents on your windowsill or creating statement pieces for your patio.
In this comprehensive guide, we’ll walk you through everything you need to know about DIY cement planters — from gathering materials to advanced techniques, troubleshooting, and creative variations. Whether you’re a complete beginner or an experienced crafter, this step-by-step tutorial will help you craft beautiful, long-lasting cement planters at home.
Why choose cement planters? They’re durable, weather-resistant, customizable, and far cheaper than store-bought versions. Plus, making your own allows you to create exactly the sizes, shapes, and styles you want. Let’s dive in!
Why Make Your Own Cement Planters?
Cement or concrete planters have surged in popularity for good reason. They offer a minimalist, high-end look that pairs perfectly with modern, boho, or industrial decor. Unlike plastic or ceramic pots, homemade cement planters are heavy enough to stay put in windy areas and resistant to cracking in temperature changes when made properly.
Benefits include:
- Cost savings: A large planter that costs $50+ in stores can be made for under $10 in materials.
- Customization: Add colors, textures, shapes, or embedded decorations.
- Eco-friendly: Repurpose household items as molds.
- Satisfaction: The joy of creating functional art with your hands.
Many homeowners turn to DIY concrete planters to match their garden aesthetic or create unique gifts. With basic supplies, you can produce everything from tiny succulent holders to massive statement pots.
Materials and Tools You’ll Need for DIY Cement Planters
Before starting your cement planter project, gather these essentials. Most are available at hardware stores or online.
Basic Materials:
- Concrete mix or quick-setting cement: Quikrete or similar (avoid heavy gravel mixes for smaller pots; use finer mortar mix for smooth finishes).
- Water: For mixing.
- Molds: Two containers per planter — one larger for the outer shape, one smaller for the inner cavity. Use plastic buckets, plant pots, cardboard boxes, or disposable containers.
- Cooking spray or petroleum jelly: As mold release.
- Sandpaper: For smoothing edges.
- Protective gear: Gloves, old clothes, dust mask, eye protection.
Optional Add-Ins for Better Results:
- Peat moss or perlite (for lighter hypertufa mix).
- Concrete sealer or waterproofing membrane.
- Acrylic paints, stains, or limewash for coloring.
- Drainage materials: Small rocks or a straw for holes.

Pro Tip: For a lighter planter, mix 1 part cement with 1 part peat moss and water to a thick consistency. This creates a porous, stone-like hypertufa effect perfect for outdoor gardens.
Safety Precautions When Making Cement Planters
Cement is alkaline and can irritate skin. Always:
- Work in a well-ventilated area.
- Wear gloves to prevent “concrete burns.”
- Avoid breathing dust.
- Keep children and pets away during mixing and curing.
- Clean tools immediately — dried cement is hard to remove.
Step-by-Step Guide: How to Make Cement Planters
Here’s the core DIY cement planters tutorial. This method uses simple bucket molds for classic round or square pots.

Step 1: Prepare Your Workspace and Molds
Choose a flat, protected surface. Cover with plastic sheeting for easy cleanup.
Select molds:
- Outer mold: Determines the exterior size.
- Inner mold: Creates the planting space. It should be 1-2 inches smaller in all dimensions.
Spray both molds generously with cooking oil or rub with petroleum jelly. This prevents sticking.
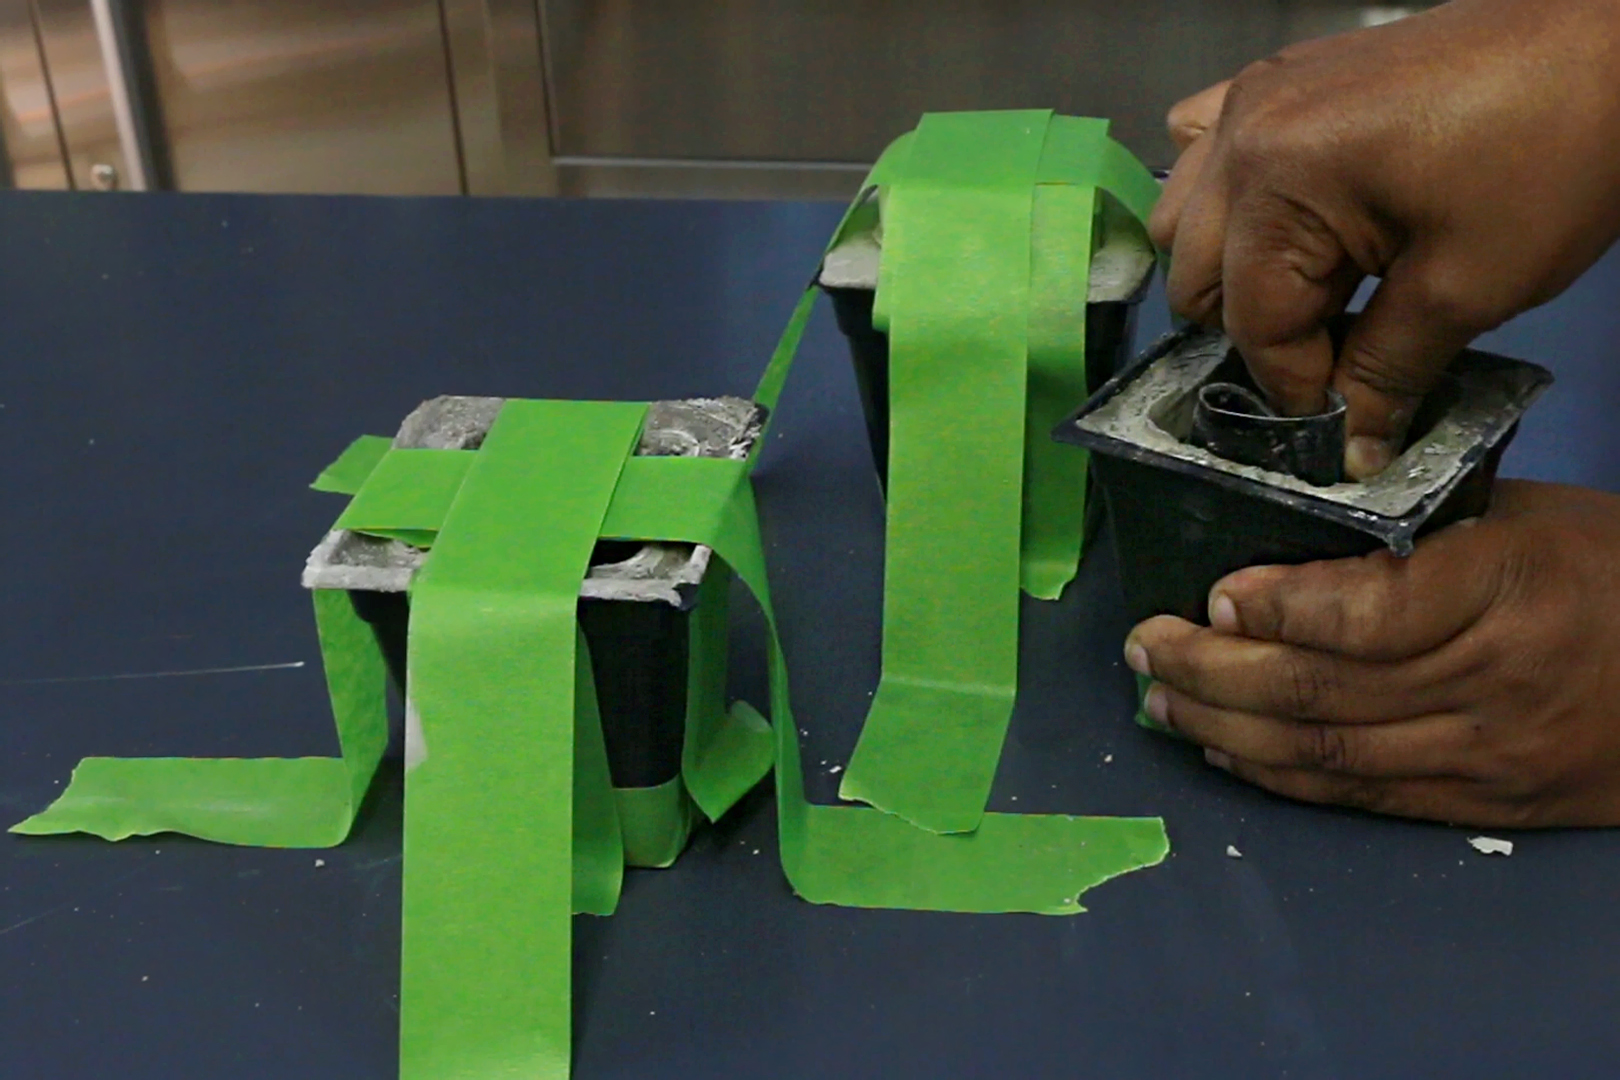
Image: Preparing molds for concrete planters
Step 2: Mix the Cement
In a bucket, combine dry concrete mix with water. Aim for a consistency like thick pancake batter or peanut butter — not too runny (it won’t hold shape) or too dry (hard to work with).
Stir thoroughly to eliminate lumps and air pockets. For small batches, use a stick or trowel. For larger projects, consider a drill mixer attachment.
Mixing Tips:
- Add water gradually.
- For colored planters, mix in concrete dye now.
- Work quickly — quick-set mixes harden fast (within 20-30 minutes).
Step 3: Pour and Form the Planter
Pour mixed cement into the outer mold to about halfway up. Tap the mold gently on the ground or use a vibrating tool to release air bubbles.
Place the inner mold centered on top. Press it down into the wet cement until the walls are even (typically 1-2 inches thick). Weigh down the inner mold with bricks or water-filled containers to keep it in place.
For drainage: Insert a greased dowel, straw, or pipe through the bottom before it sets.
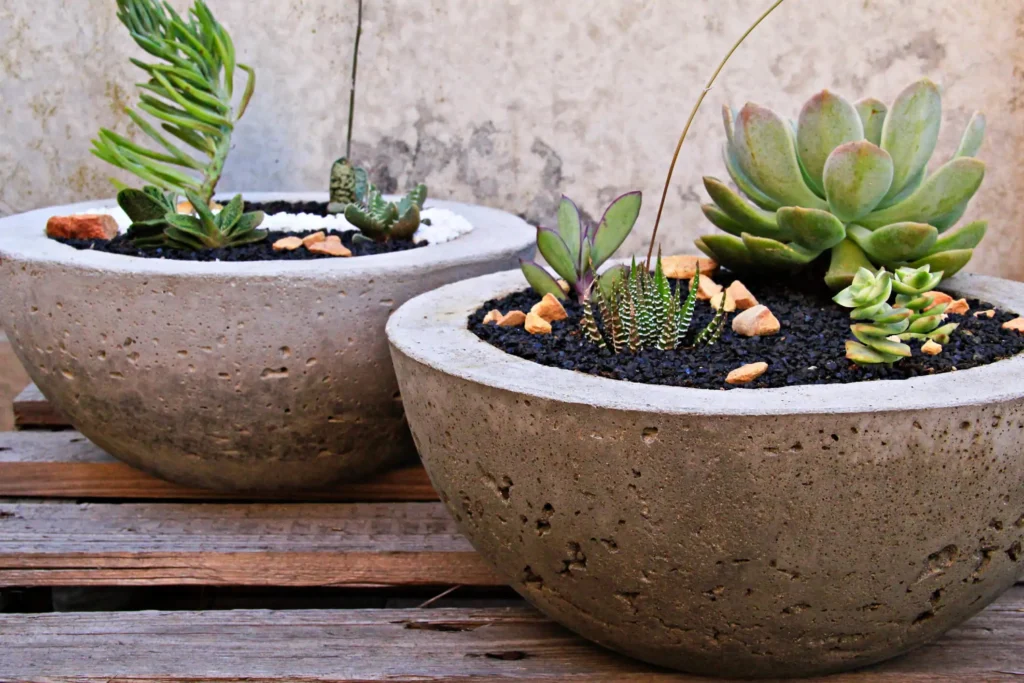
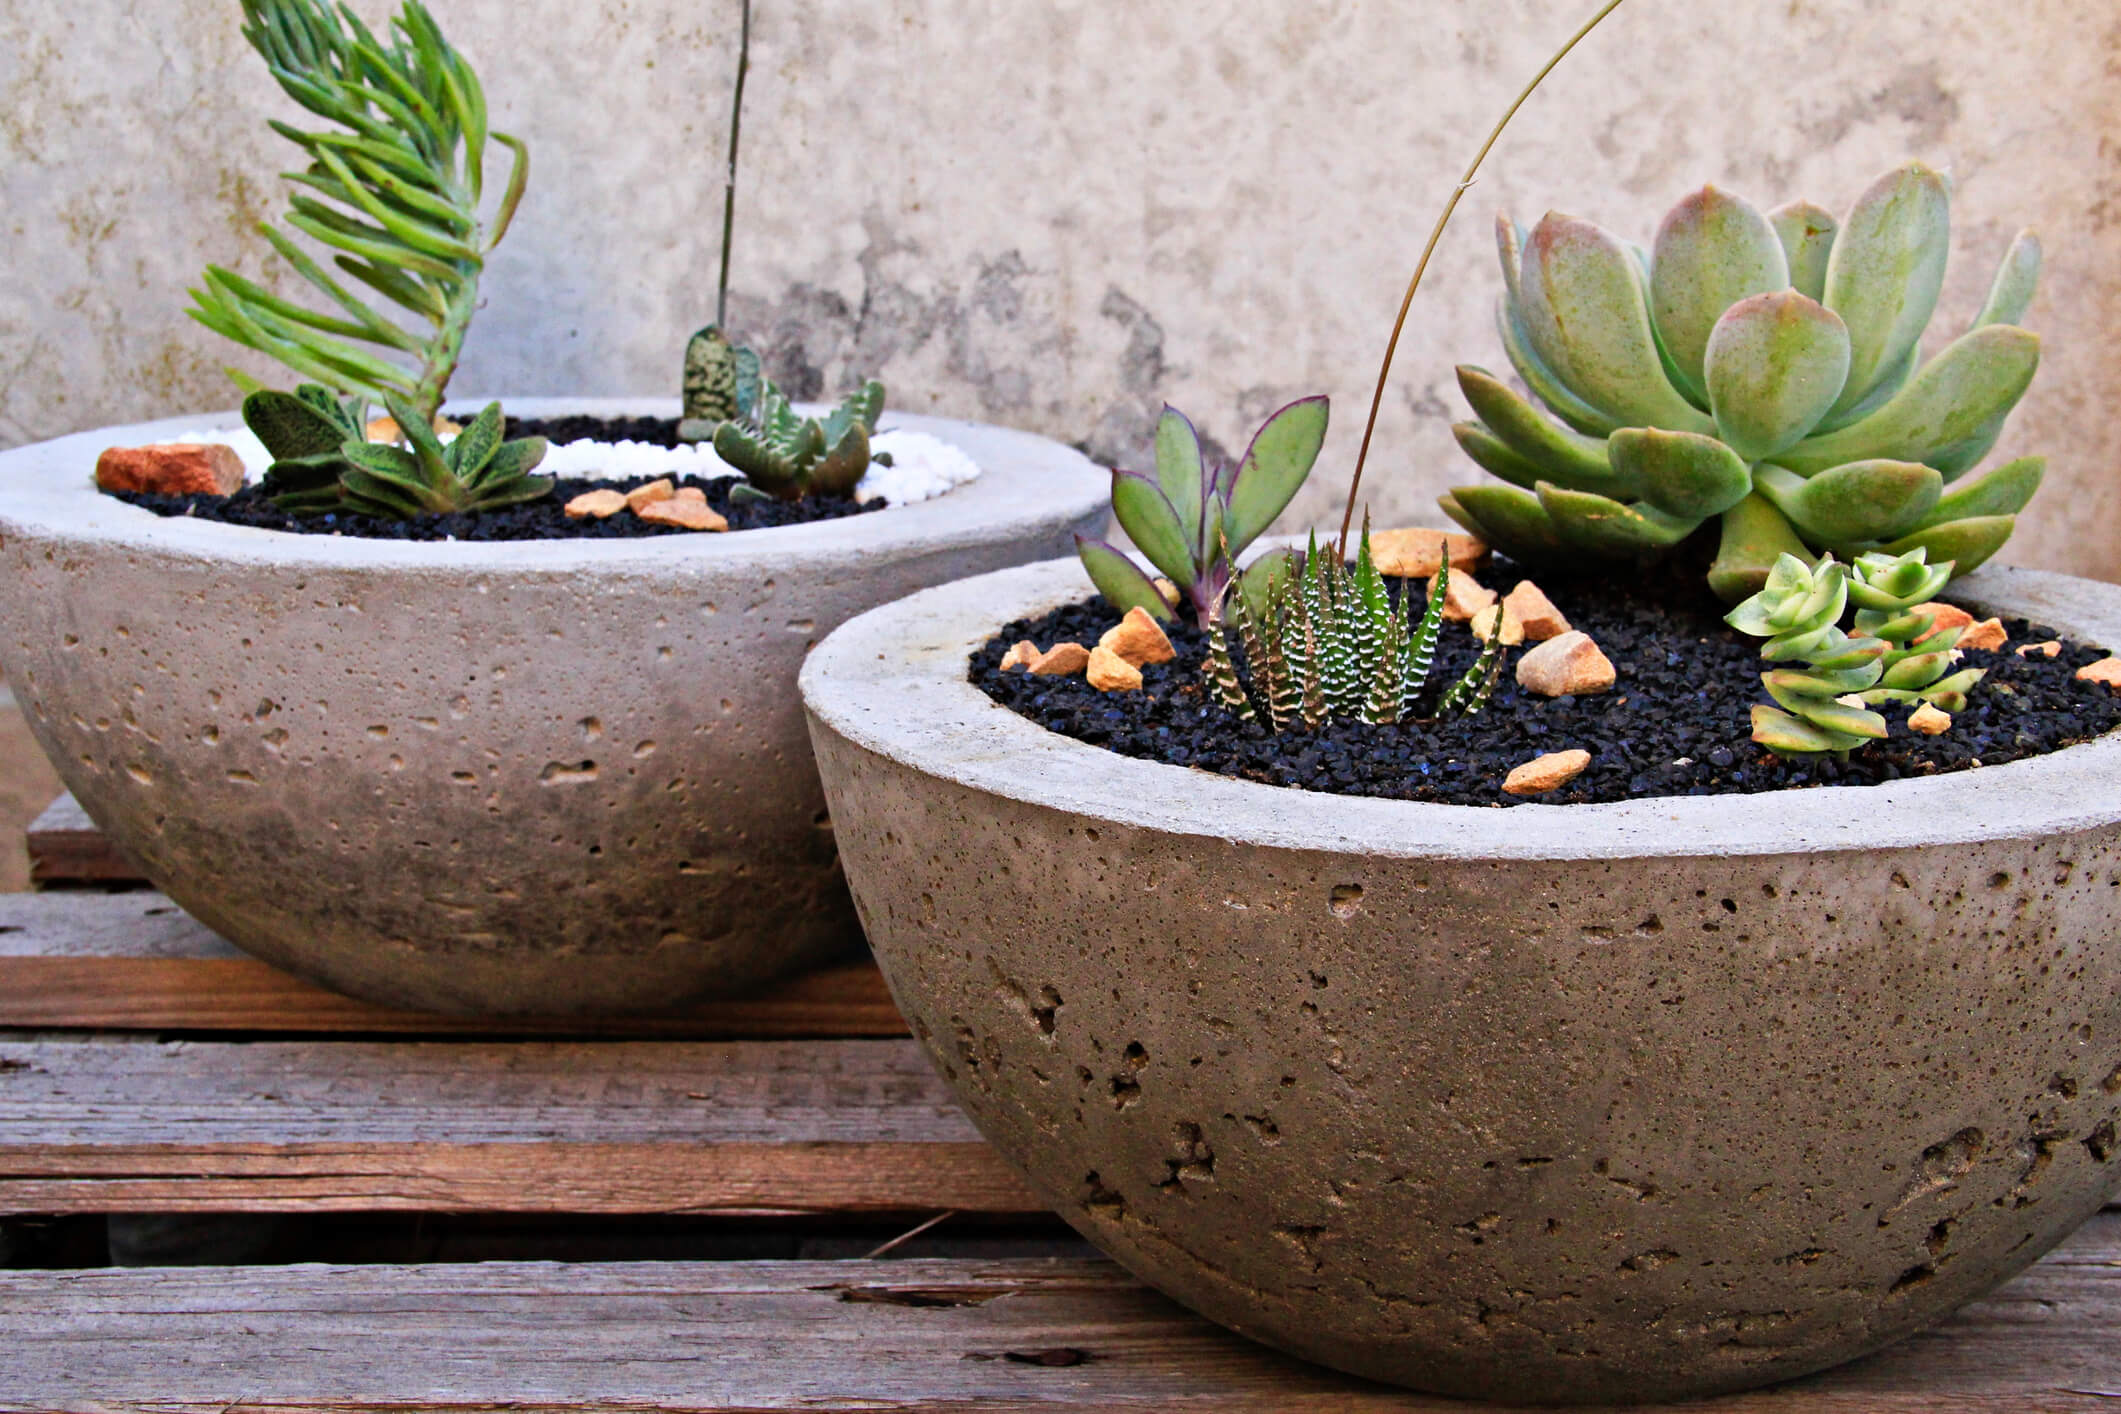
Image: Finished basic cement planters with plants
Step 4: Let It Cure
Cover with plastic and let cure for 24-48 hours. Then carefully remove the molds. For best strength, submerge in water or keep moist for another 5-7 days (full curing takes up to a month).
Step 5: Demold, Sand, and Finish
Gently pry off molds. Sand rough edges for a polished look. Apply a concrete sealer for waterproofing and stain resistance, especially for outdoor use.
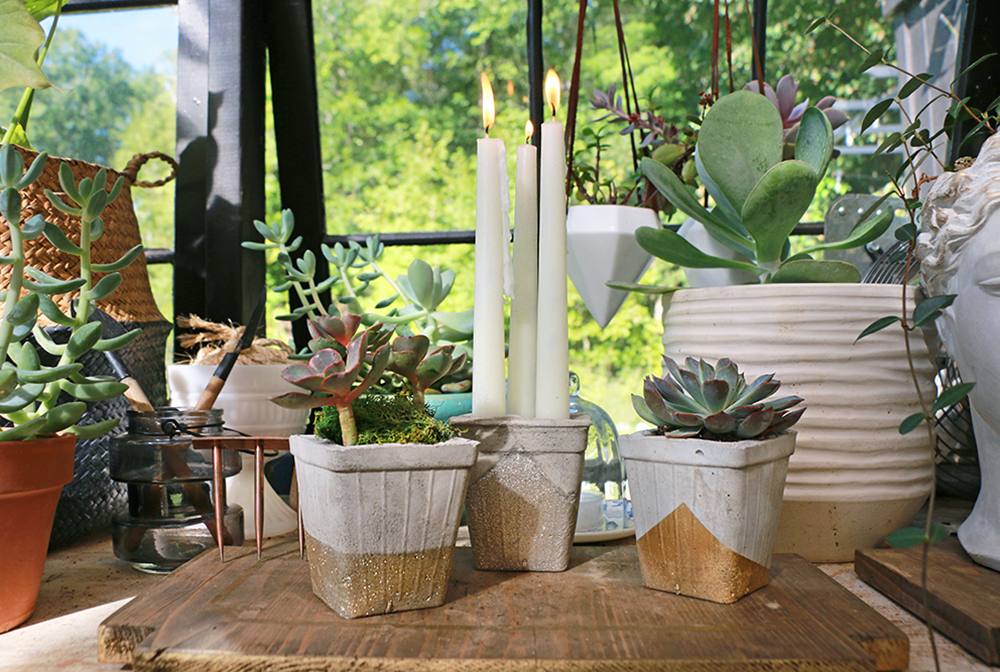
Image: Completed DIY cement planters ready for planting
Creative Variations for Your Cement Planters
Once you master the basics, experiment! Here are popular twists:
1. Towel or Fabric Cement Planters
Dip an old towel in cement mix and drape over a form for organic, textured shapes. Perfect for artistic, flowing designs.

2. Hypertufa Planters
Mix cement with peat moss and perlite for lightweight, aged-looking pots ideal for alpine plants.
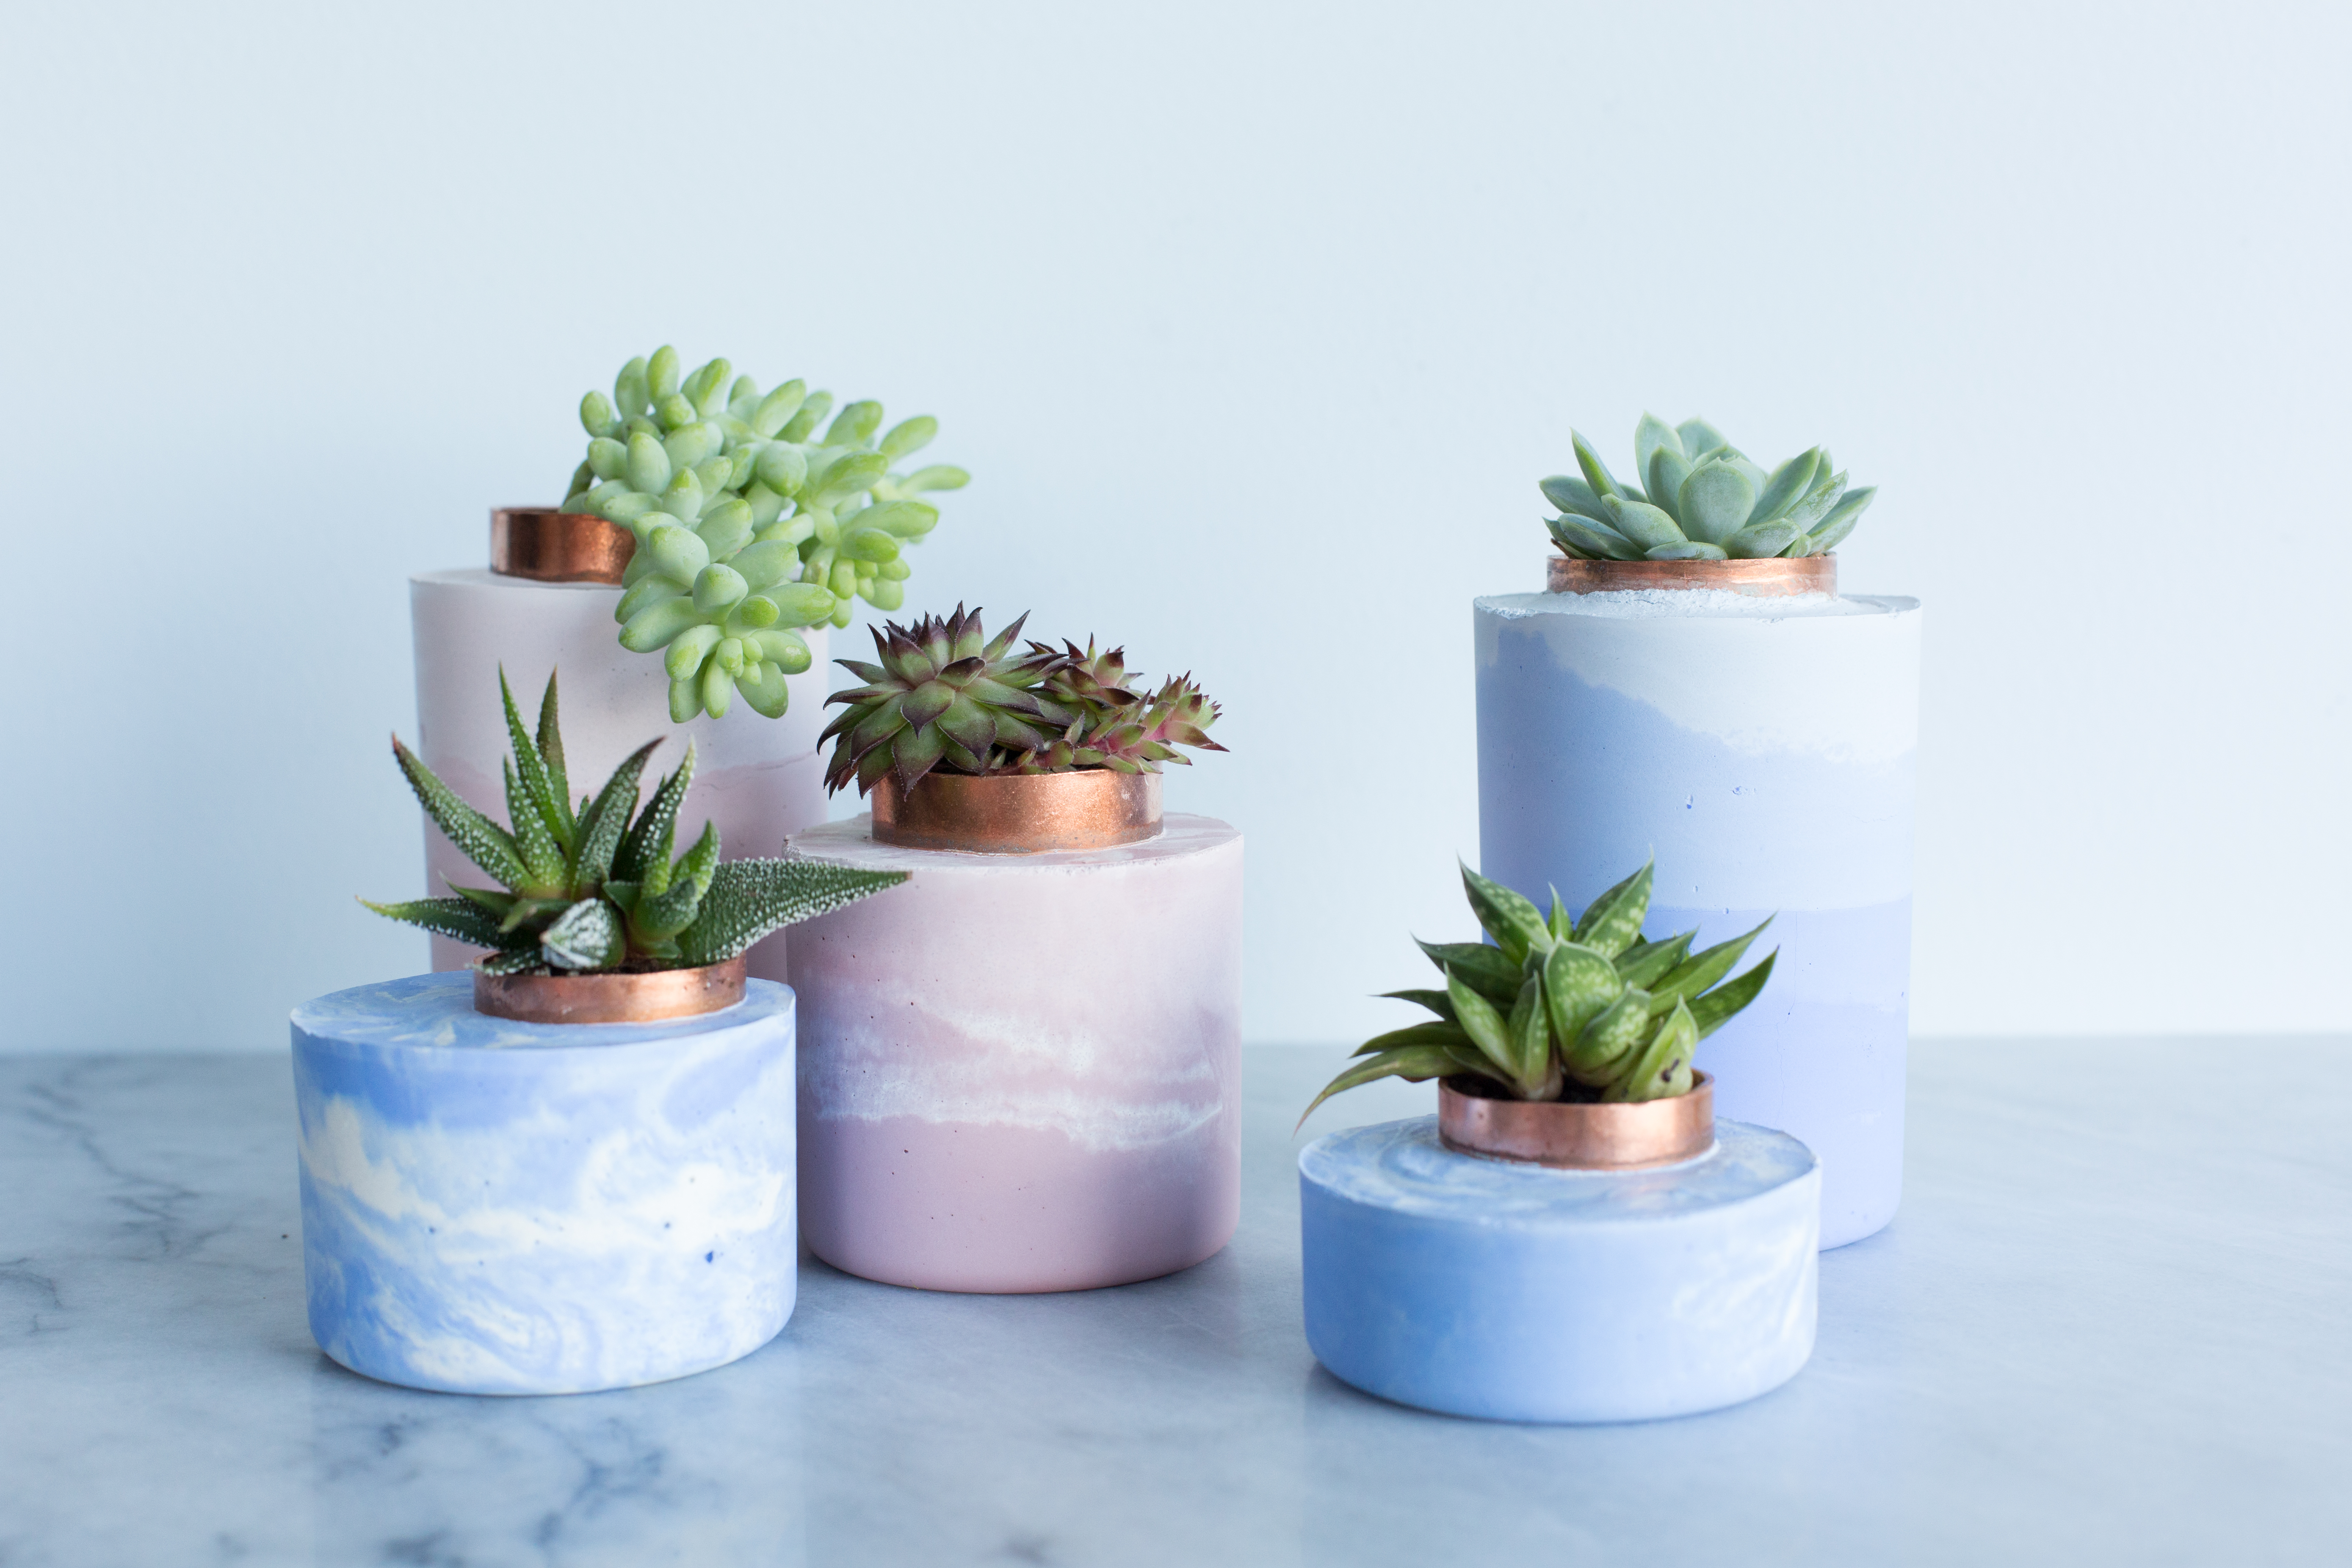
3. Colored and Painted Planters
Add pigments to the mix or paint after curing. Try ombre effects, marble swirls, or metallic accents.
4. Large Outdoor Planters
Use wooden forms or stacked buckets for bigger sizes. Reinforce with wire if needed, but test for drainage.

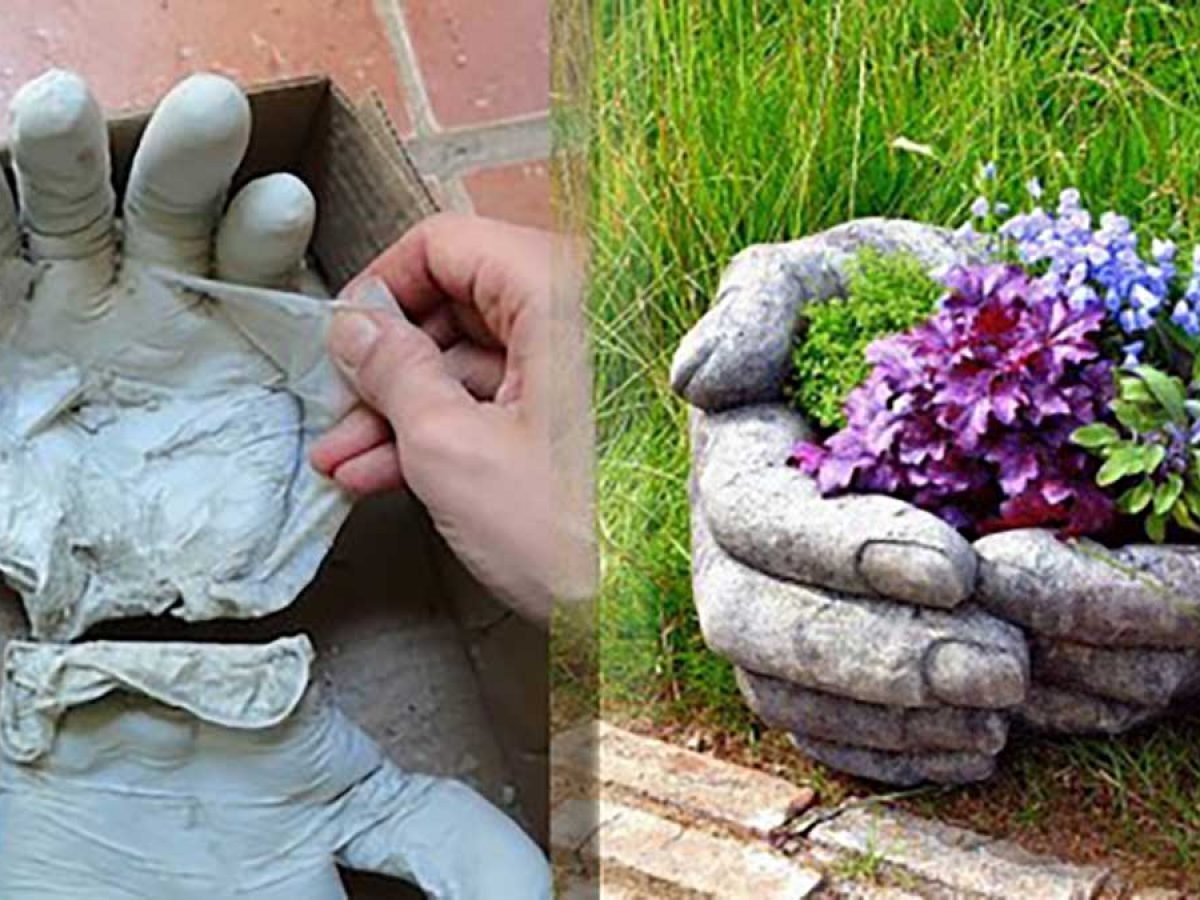
5. Hand or Footprint Planters
Use rubber gloves filled with cement for quirky, personalized gifts.
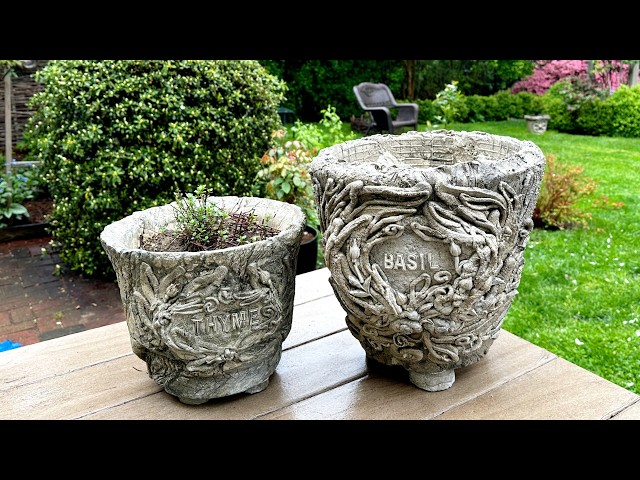
6. Geometric or Textured Designs
Incorporate molds with patterns, embed shells/stones, or carve designs while semi-dry.
Planting in Your New Cement Planters
Cement planters need good drainage to prevent root rot. Add a layer of gravel or broken pottery at the bottom. Use quality potting soil suited to your plants.
Best plants for cement pots:
- Succulents and cacti (love the weight and drainage).
- Herbs.
- Small flowers or ferns.
- Avoid acid-loving plants initially, as new concrete can be alkaline.
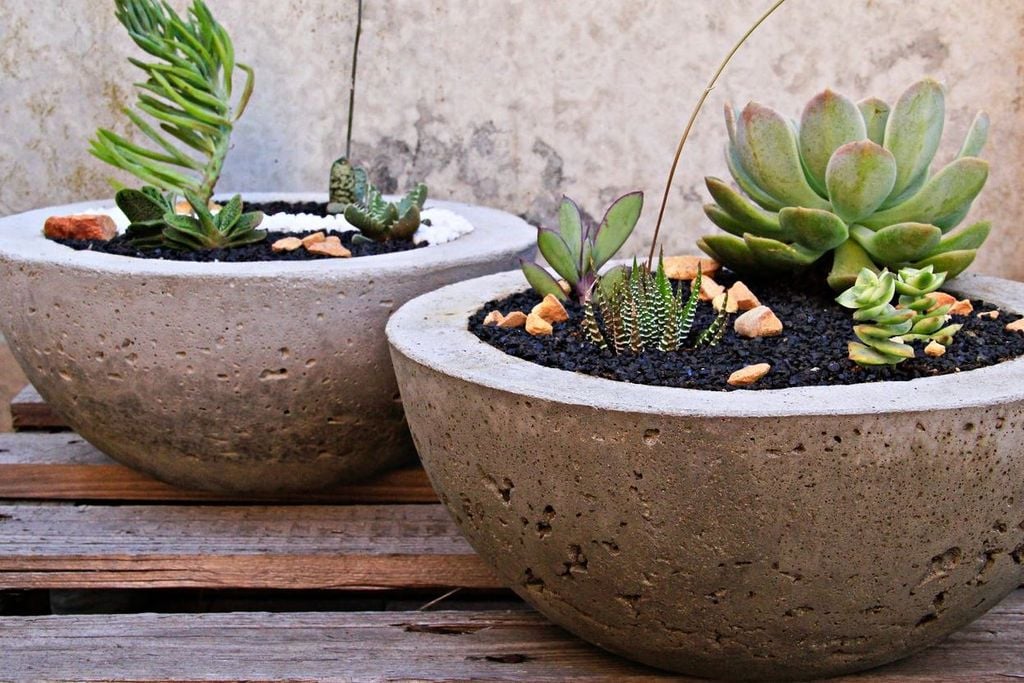
Image: Succulents thriving in homemade concrete planters
Common Mistakes and Troubleshooting
- Cracking: Caused by too-fast drying or thin walls. Cure slowly and maintain a 1.5-2 inch thickness.
- Sticking to molds: Always use a release agent.
- Bubbles/holes: Tap vigorously during pouring.
- Discoloration: Normal for new concrete; seal or paint if desired.
- Heavyweight: Planter size accordingly; larger ones are great for outdoors, but hard to move.
If your first attempt isn’t perfect, remember: practice makes beautiful planters!
Maintenance and Care for Cement Planters
- Seal annually for longevity.
- Clean with mild soap; avoid harsh chemicals.
- In winter, bring sensitive pots indoors or elevate to prevent freezing damage.
- Monitor for efflorescence (white powdery residue) — it’s natural and can be brushed off.
Advanced Tips for Professional-Looking DIY Cement Planters
- Use melamine boards for custom square molds.
- Experiment with microcement overlays for ultra-smooth finishes.
- Add fiberglass reinforcement for extra-large pots.
- Create matching sets for cohesive garden designs.
Cost Breakdown and Time Investment
A basic small planter: $2-5 in materials, 30 minutes active time + curing. Large planter: $10-20, more time for mixing and forming.
Total for a set of 5-6 planters: Under $50 — huge savings!
Frequently Asked Questions About Making Cement Planters
How long do cement planters last? Indefinitely, with proper sealing and care, especially outdoors.
Can I make them without special tools? Yes! Many successful projects use only buckets and a stirring stick.
Is concrete the same as cement? Cement is the binder; concrete is the mix with aggregates. Most “cement planters” use concrete mix.
How do I add drainage holes? Insert a tube while wet or drill after full cure (use a masonry bit).
Are they safe for food/herbs? Yes, once fully cured and sealed. Avoid edibles if using certain dyes.
Conclusion: Start Your Cement Planter Journey Today
Making DIY cement planters is an accessible, creative project that transforms simple materials into stunning home decor. With this guide, you’re equipped to create beautiful, functional pieces that reflect your style.
Gather your supplies, follow the steps, and enjoy the process. Your plants (and guests) will thank you! Share your creations in the comments — we’d love to see your unique twists on how to make cement planters.