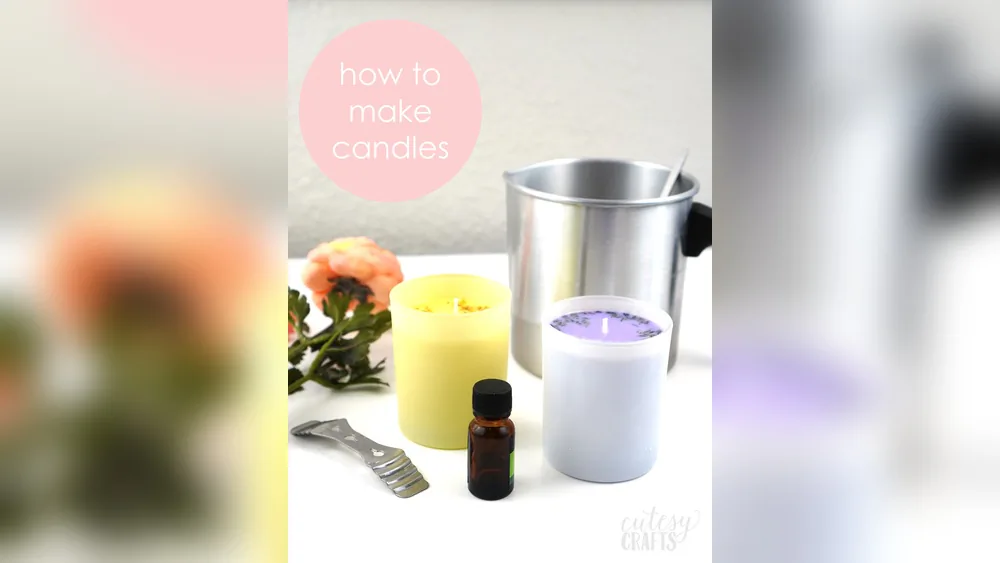
How to Make Candles at Home is a creative way to add warmth and fragrance to your space. It’s also surprisingly easy, and you don’t need expensive equipment. In fact, homemade candles can be customised for gifts, special events, or simply to relax after a long day.
Many people start candle making as a fun hobby, then realise it saves money and gives total control over ingredients—important if you have allergies or want natural scents.
If you’re new to candle making, don’t worry. With a few basic tools and materials, you’ll be able to create beautiful, clean-burning candles. Let’s walk through the process, step by step, and explore smart tips that even beginners often miss.
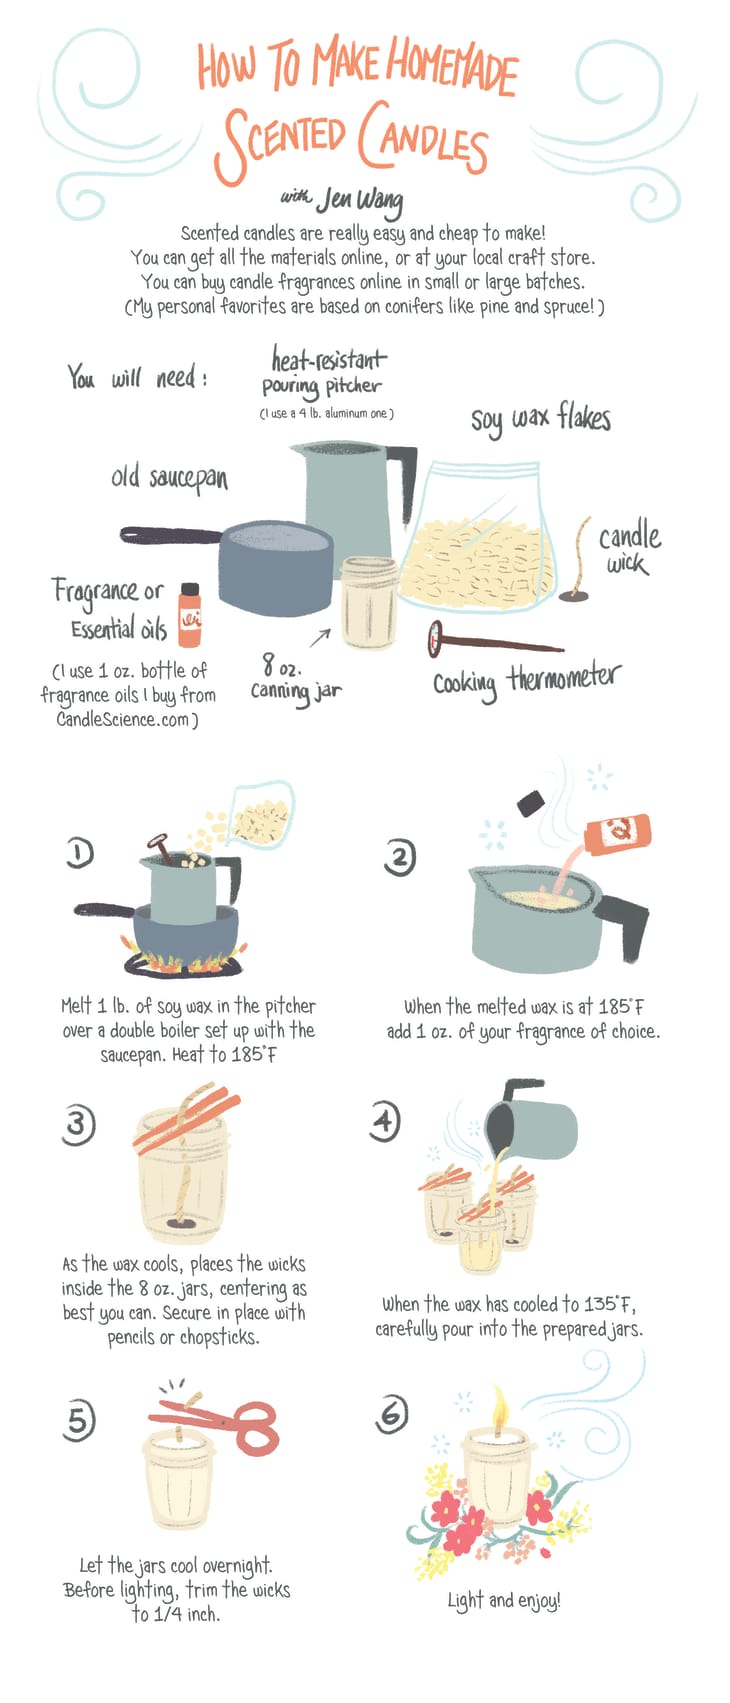
What You Need To Make Candles At Home
Before you start, gather these essential items:
- Wax (soy wax, beeswax, or paraffin)
- Wicks (cotton or wood)
- Containers (glass jars, metal tins, or molds)
- Fragrance oils or essential oils (optional)
- Color dyes (optional)
- Double boiler or microwave-safe pitcher
- Thermometer
- Stirring utensil (wooden stick or spoon)
- Wick holder (chopsticks, pencils, or wick centering devices)
- Glue dots or hot glue gun
Choosing the right wax is important. Soy wax is popular because it’s natural and burns clean. Beeswax gives a subtle honey scent and is eco-friendly. Paraffin is affordable but less natural.
Step-by-step Candle Making Process
Follow these steps for a simple container candle:
1. Prepare Your Container
Wash and dry your jars or molds. Attach the wick to the bottom center using a glue dot or hot glue. Make sure it sticks firmly so the wick stays centered.
2. Measure And Melt The Wax
Estimate how much wax you need by filling your container with wax flakes, then doubling that amount for melting. Use a double boiler to gently melt the wax, or microwave in short bursts. Use a thermometer—ideal pouring temperature is usually 120–160°F (49–71°C), depending on wax type.
3. Add Fragrance And Color
Remove melted wax from heat. Let it cool to about 140°F (60°C) before adding fragrance oils and dye. Too-hot wax can burn off scent or cause uneven color. Add about 1 ounce of fragrance oil per pound of wax for a strong scent. Stir gently but thoroughly.
4. Pour The Wax
Slowly pour the wax into the container, leaving about half an inch at the top. Hold the wick upright and straight. Secure it with a wick holder, chopstick, or pencil laid across the jar.
5. Cool And Set
Let the candle cool at room temperature. This prevents cracks and sinkholes. If a dip forms around the wick, top it off with a little more melted wax.
6. Trim The Wick
Once solid, trim the wick to about ¼ inch (6 mm) above the wax surface. This helps the candle burn evenly.

Comparing Candle Wax Types
Choosing the right wax affects burning time, scent throw, and eco-friendliness. Here’s a quick look at three common waxes:
| Wax Type | Burn Time | Scent Throw | Eco-Friendliness |
|---|---|---|---|
| Soy Wax | Long | Moderate | High |
| Beeswax | Longest | Light | Very High |
| Paraffin | Short | Strong | Low |
Soy and beeswax are better for those who want a natural candle. Paraffin is cheaper, but it’s petroleum-based.
Adding Color And Scent: What To Know
For beginners, it’s tempting to add a lot of fragrance and bright colors. However, too much fragrance can cause poor burning or sweating (liquid on top). Stick to the recommended ratio: no more than 10% fragrance oil by wax weight.
As for color, use candle-specific dyes. Food coloring doesn’t mix well and may cause the candle to sputter.
A smart tip: Test a small batch first. Not all scents or dyes behave the same, and it’s easier to fix mistakes with a small amount.
Candle Container Options
The right container is not just about looks—it’s about safety too. Here’s a quick comparison:
| Container Type | Pros | Cons |
|---|---|---|
| Glass Jar | Reusable, heat-resistant | Can crack if overheated |
| Metal Tin | Lightweight, portable | May get hot to touch |
| Silicone Mold | Great for shapes, easy removal | Needs careful wax release |
Always choose containers designed to withstand heat. Avoid thin glass or plastic, which can break or melt.
Common Candle Making Mistakes
Even with careful steps, beginners make some avoidable errors:
- Uneven burning: Usually from a wick that’s too small or off-center.
- Soot and smoke: Caused by a wick that’s too long or wax that’s too hot.
- Cracks or sinkholes: Pouring wax too hot or cooling too fast.
- Weak scent: Not enough fragrance oil, or adding it at the wrong temperature.
If you see tunneling (a hole down the center), let your candle burn longer the first time—this sets the wax “memory” for later burns.
Safety Tips For Candle Making
Safety is critical. Never leave a candle burning unattended. Keep wicks trimmed and candles away from drafts, pets and children. Allow your homemade candles to test for at least 2 hours before selling or gift.
For additional safety tips and in-depth guides, refer to resources like the National Candle Association.
Frequently Asked Questions (FAQs)
How Long Does It Take To Make A Candle At Home ?
Most candles will take 2-3 hours start to finish. Melting and pouring the wax is quick but cooling and setting can take 1-2 hours.
Can I Use Crayons To Colour Candles?
Don’t do it. Crayons contain pigments and fillers that do not melt evenly and can clog the wick or cause bad burning.
Why is my candle sinking or cracking in the middle?
This is usually the result of the wax cooling too fast or being poured too hot. Pour wax at the recommended temperature and allow it to cool slowly at room temperature.
What’s the easiest way to add fragrance?
Add fragrance oil once the wax has cooled to about 140°F (60°C). This lets the scent mingle without evaporating.
How to Select the Correct Wick Size?
The proper size wick depends upon the diameter of the container and the type of wax. Most suppliers have charts or calculators to help you match the wick size to your candle.
Candles you make yourself are not only useful, but a way to be creative and have a relaxing hobby. With a little care you can fill your home with beautiful light and fragrance. Experiment with different combinations and enjoy the process, every batch teaches something new.