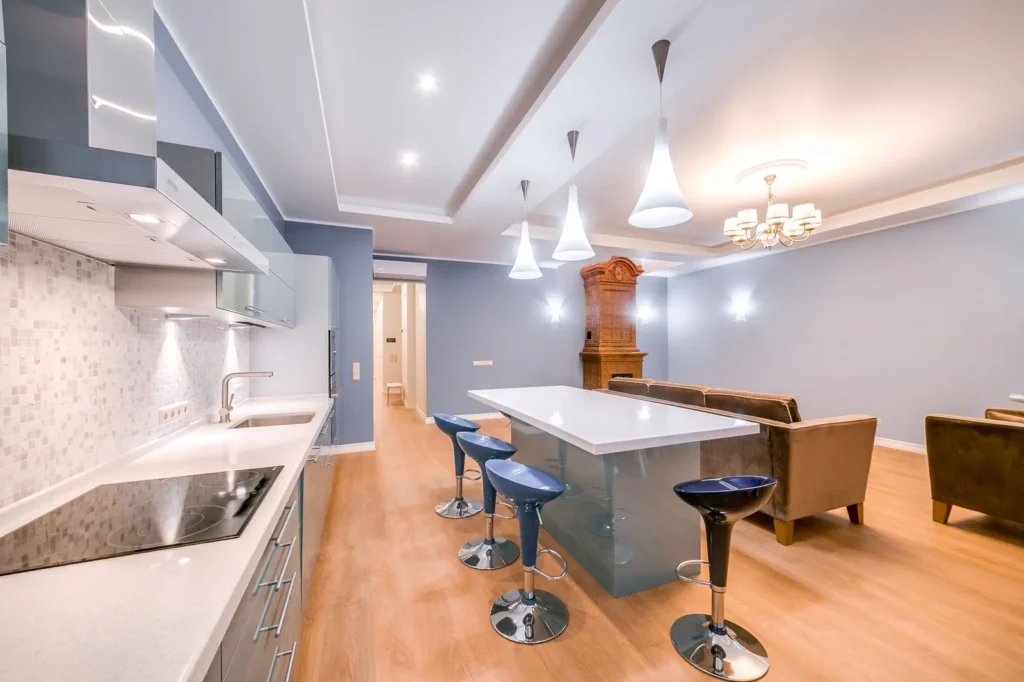
How to Wire a Kitchen LED Ceiling Light requires a systematic approach to ensure both functionality and safety, involving the careful connection of electrical conductors to your home’s existing supply lines. By following standard electrical protocols, you can transform your workspace with efficient, bright illumination while maintaining the integrity of your kitchen’s power grid. This process generally involves identifying the correct circuit, preparing the fixture, and securing the wiring to prevent loose connections or short circuits.
Key Takeaways

- Always turn off the main power at the circuit breaker before touching any wires.
- Use a non-contact voltage tester to verify that the power is truly off.
- Match wire colors correctly: black to black (hot), white to white (neutral), and green or bare to ground.
- Ensure all wire connections are secured with appropriate wire nuts or lever-style connectors.
- Check that the fixture is properly anchored to the ceiling junction box to support its weight.
How to Wire a Kitchen LED Ceiling Light
Installing a modern LED fixture begins with understanding the existing wiring inside your junction box. Most kitchen ceilings contain a standard set of wires: a hot wire (usually black or red), a neutral wire (white), and a ground wire (bare copper or green). Before you begin, you must be certain that the electricity is disconnected.
You can verify this by using a non-contact voltage tester to ensure no current is flowing through the wires. If you’re uncertain about your ability to handle electrical work, hire a licensed electrician to perform the installation to prevent fire hazards or electrical shock.
Essential Tools and Materials
Having the right equipment on hand prevents unnecessary trips to the hardware store and keeps your workspace organized. You’ll need basic hand tools and specific electrical components to ensure a professional-grade finish.
| Item Name | Purpose |
|---|---|
| Screwdriver Set | Tightening fixture mounting screws |
| Wire Strippers | Removing insulation from conductors |
| Voltage Tester | Confirming power is turned off |
| Wire Nuts | Securing electrical connections |
| Electrical Tape | Extra insulation for wire joints |
| Step Ladder | Providing safe overhead access |
Preparing the Junction Box
The junction box is the foundation of your light installation. Before attaching the LED unit, inspect the box for damage or loose mounting. If the box is plastic, it’s likely already grounded, but if it’s metal, you must ensure it has a proper ground screw.
Remove the old fixture carefully, noting how the wires were connected. If the existing wires appear brittle or have cracked insulation, don’t proceed with the installation; instead, contact a professional to replace the damaged segments. Clean the area around the box to ensure the new fixture base sits flush against the ceiling surface.
Connecting the Electrical Wires
Connecting the wires is the most critical step in the installation process. Strip approximately half an inch of insulation from the ends of the supply wires. Hold the corresponding wires together—black to black, white to white, and ground to ground—and twist them in a clockwise direction. Once twisted, screw the wire nut onto the bundle until it’s tight.
Pro Tip: Give each wire a firm tug after securing the nut to ensure the connection is physically sound and won’t slip out under tension.
For the ground connection, ensure the bare or green wire is attached securely to the green screw on the mounting bracket or the junction box itself, as this provides a critical path for fault current.
Managing Your Fixture Weight
Kitchen LED lights vary significantly in weight, from lightweight plastic discs to heavy metal chandeliers. Always check the weight rating of your junction box to ensure it can support the fixture you have chosen.
If you’re installing a heavy pendant light or a large LED panel, you may need to install a heavy-duty ceiling fan-rated box. Never rely on drywall screws to hold the weight of a light fixture, as the material is too soft and will eventually fail, causing the fixture to fall.
Safety Precautions and Warnings
Working with electricity carries inherent risks. Always follow the manufacturer’s instructions provided with your specific LED model, as wiring configurations can vary by manufacturer.
Warning: Never attempt to bypass a ground wire or connect live wires while the circuit breaker is active.
If you notice any sparks, burning smells, or flickering after turning the power back on, immediately turn off the breaker and re-examine your connections. Ensure that no copper wires are exposed outside the wire nuts, as these could potentially touch the metal housing of the fixture and cause a short circuit.
Troubleshooting Common Installation Issues
Sometimes, a light fails to turn on or behaves erratically after installation. Systematic troubleshooting helps identify the source of the problem without needing to call for help immediately.
| Symptom | Potential Cause | Recommended Fix |
|---|---|---|
| Light doesn’t turn on | Loose wire connection | Re-check all wire nut connections |
| Flickering light | Incompatible dimmer switch | Ensure the dimmer is LED-rated |
| Humming noise | Poor electrical contact | Tighten all mounting hardware |
| Tripped breaker | Short circuit in wiring | Inspect for pinched or crossed wires |
Selecting the Right LED Fixture
Choosing the correct LED fixture depends on your kitchen’s layout and your lighting needs. Consider the color temperature, measured in Kelvin (K), to achieve the desired ambiance. A warm white (2700K-3000K) creates a cozy feel, while a cool white or daylight (4000K-5000K) provides the crisp light necessary for food preparation. Additionally, ensure the fixture has a high Color Rendering Index (CRI), ideally 90 or above, so that the colors of your food and kitchen decor appear accurate and vibrant.
Understanding Dimmer Compatibility
Many homeowners prefer dimmable LED lights to transition from task-oriented cooking to ambient dining. However, LEDs require specific dimmer switches designed for low-wattage loads. If you use a traditional incandescent dimmer, you may experience buzzing, flickering, or premature failure of the LED driver. When purchasing your fixture, look for the “dimmable” label on the packaging and check the manufacturer’s list of compatible dimmer switches to ensure seamless performance.
Mounting the LED Base
Once the wiring is complete and tested, it’s time to mount the base to the ceiling. Carefully tuck the excess wire back into the junction box, ensuring that no wires are pinched between the fixture base and the ceiling. Secure the fixture using the provided screws or mounting hardware.
If your fixture includes a decorative trim or lens, install these last to prevent damage during the mounting process. Wipe down the exterior of the fixture with a soft cloth to remove fingerprints or dust, ensuring a clean, finished appearance.
Testing Your New Installation

After the fixture is securely mounted, turn the power back on at the circuit breaker. Switch the wall light on and off several times to ensure it operates smoothly. If you installed a dimmer, test the full range from low to high to ensure the light doesn’t flicker or cut out at any point.
Walk around the kitchen to check for any shadows or dark spots that might require adjustments to the fixture’s position or angle. Once you’re satisfied with the performance, the installation is complete.
Frequently Asked Questions
Can I wire an LED light without a ground wire?
While some older homes may lack a ground wire, it’s highly recommended to have one for safety. If your home’s wiring is outdated, consult an electrician to see if a ground path can be established. Operating modern LED fixtures without a proper ground can pose a safety risk and may void your fixture’s warranty or violate local building codes.
Why does my new LED light buzz?
A buzzing sound usually indicates an incompatibility between the LED fixture and the dimmer switch. LEDs draw very little power, and older dimmers often struggle to regulate this low load, leading to audible vibration in the electrical components. Upgrading to a modern, LED-compatible dimmer switch will typically resolve this issue instantly and prevent long-term damage to the light’s internal driver.
How do I match the wire colors?
In standard US residential wiring, the black wire is “hot” and the white wire is “neutral.” Your LED fixture should have wires that match these colors, or they may be labeled clearly in the manual. The ground wire is always green or bare copper. Always connect the hot wire of the fixture to the hot wire of the house, and the neutral to the neutral.
Is it safe to install LED lights myself?
Yes, provided you have a basic understanding of electrical safety and the correct tools. If you’re uncomfortable working with high-voltage lines or if your junction box shows signs of damage, it’s safer to hire a professional. Many homeowners find the process straightforward, but the priority must always be safety, ensuring all power is disconnected before beginning any work.
What should I do if the wires are the wrong color?
If you encounter unexpected wire colors, such as blue or yellow, or if all wires appear the same color, stop immediately. These colors often indicate a non-standard installation, such as a three-way switch or a specialized circuit. Don’t guess the connections, as this can lead to a dangerous short circuit. Use a multimeter or hire an electrician to identify the purpose of each wire correctly.
Conclusion
Your new LED ceiling light is now ready to provide reliable, energy-efficient illumination for your home. By taking the time to verify your connections and ensure the fixture is properly anchored, you have improved both the utility and the safety of your kitchen space. If you encounter any unexpected issues, re-verify your connections at the junction box as a first step.