
How to Make a Cordless Lamp: source by wiring a low-voltage LED bulb to a rechargeable lithium-ion battery pack, a project that requires basic soldering skills and careful handling of electrical components. If you’re new to electronics, start with a simple kit, but if you have experience, you can customize your design using recycled materials or decorative bases.
Gathering supplies to make your cordless lamp
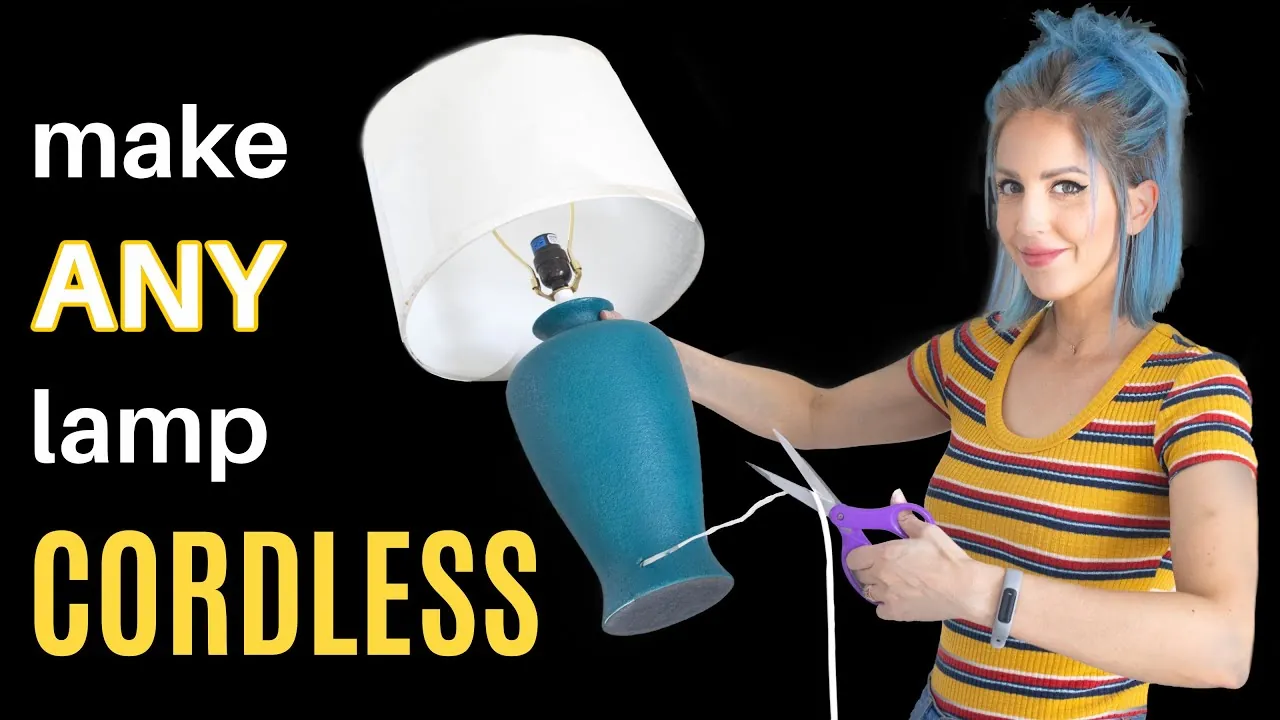
You need to gather specific components to ensure your project is safe and functional. Always check your battery and LED specifications before you begin to ensure they match.
| Item | How much | Why it’s needed | A substitute |
|---|---|---|---|
| LED bulb | 1 unit | Provides light | none — don’t swap this |
| Battery pack | 1 unit | Powers the bulb | none — don’t swap this |
| Soldering iron | 1 unit | Joins wires | none — don’t swap this |
| Solder wire | 1 meter | Creates connection | none — don’t swap this |
| Wire strippers | 1 unit | Exposes copper | sharp scissors |
| Heat shrink | 5 centimeters | Insulates joints | electrical tape |
Use a temperature-controlled soldering iron set to the appropriate temperature for your solder type. An iron that’s too cool will create cold, brittle joints that fail under vibration.
If you choose electrical tape instead of heat shrink, wrap the joint three times. Overlap each rotation by half the width of the tape to prevent the adhesive from sliding off over time.
Novices often strip too much insulation from the wire. Expose only 5 millimeters of copper to keep the circuit tidy and prevent accidental shorts. If you see stray copper strands poking out after soldering, trim them immediately with flush cutters before applying insulation.
Preparing your workspace
Clear a flat, well-lit surface of all flammable items, including loose paper, synthetic fabrics, and cardboard. A workspace free of clutter prevents accidental ignitions and gives you room to maneuver delicate components.
Unplug nearby power tools before you begin. This simple step eliminates the risk of short circuits if a stray wire or tool touches a live terminal.
Always wear safety glasses. Solder splashes are unpredictable, and thin wire clippings can easily fly into your eyes when trimmed. If you wear prescription glasses, ensure your safety goggles fit securely over them without creating gaps.
Good ventilation is essential for safety. If you lack a dedicated fume extractor, position a small desk fan to pull air away from your face.
When handling lithium-ion batteries, keep them at least three feet from heat sources like soldering irons. If a battery feels hot to the touch, stop immediately.
Assembly steps for the lamp
- Strip 1 centimeter of insulation from the ends of your LED wires using the wire strippers.
- Twist the red wire from the LED to the positive terminal of your battery pack.
- Heat the connection with the soldering iron for 3 seconds before applying a small amount of solder.
- Repeat the soldering process for the black wire and the negative terminal of the battery.
- Slide a piece of heat shrink over each connection and use the iron to shrink it tight.
- Test the circuit by switching the battery pack on to ensure the LED illuminates correctly.
- Secure the battery pack inside your chosen lamp base using double-sided adhesive mounting tape.
- Attach the LED bulb to the top of your lamp base using a heat-resistant glue.
- Verify that all wires are tucked away and not under tension before closing the base.
Verifying the final result
A successful build will provide a steady, flicker-free light when you toggle the switch. If the lamp doesn’t turn on, check the battery charge level first, as many pre-bought packs arrive partially drained. If the battery seems dead, have a qualified technician test the power levels for you.
If the bulb flickers, you likely have a “cold solder joint” where the metal didn’t flow correctly between the wire and the terminal. Reheat these points until the solder appears shiny and smooth rather than dull or grainy.
If the bulb gets hot to the touch, turn it off immediately. This indicates a short circuit or an incorrect voltage match between the battery and the LED. If the heat persists after checking connections, swap the resistor for one with a higher ohm rating to limit current. Always ensure the wires aren’t pinched by the lamp housing. Pinched insulation creates a hidden fire risk that often fails only after the housing is sealed.
Troubleshooting common issues
| What happened | Why | What to do |
|---|---|---|
| Light is dim | Low battery | Recharge the pack |
| Light flickers | Loose connection | Re-solder the joint |
| No light | Wrong polarity | Reverse wire connections |
| Heat buildup | Voltage mismatch | Check LED specs |
| Won’t turn on | Faulty switch | Replace battery pack |
If your light flickers even after re-soldering, check the wire gauge. Wires thinner than 22 AWG often fail to carry the necessary current, causing intermittent power drops.
When the device remains dark despite correct polarity, test the circuit with a multimeter set to continuity mode. If the meter stays silent, the internal fuse has likely blown from a power surge. You must replace this fuse with one of the identical rating to restore flow.
Should the unit generate excessive heat, verify that your power supply output matches the LED forward voltage. If the housing feels hot to the touch within sixty seconds, disconnect it immediately and have a professional technician inspect the circuit to prevent permanent diode degradation.
Frequency of maintenance

You should plan to inspect your lamp periodically to ensure the battery remains in good condition, following the specific maintenance schedule outlined in your owner’s manual. If you notice the plastic casing near the battery feels soft or deformed, stop using the lamp and recycle the battery at a local collection center.
The frequency of charging depends on your usage; high-intensity LEDs will drain a standard 2000mAh battery in about four hours of continuous use. If the light output becomes noticeably weaker, it’s time to charge the battery.
Never leave the lamp charging unattended overnight, as this can stress the internal charging circuit over time. If you use the lamp daily, check the charging port for debris once a month. A buildup of pocket lint or dust acts as an insulator, causing the unit to overheat during the charge cycle.
Frequently asked questions
Can I use any battery for this project?
You must use a battery that matches the voltage requirements of your LED bulb. Using a battery with too high a voltage will burn out the LED instantly, while one with too low a voltage will result in no light at all.
Is it safe to leave the lamp on for a long time?
It’s safe to leave the lamp on provided the components are properly insulated, and the battery doesn’t overheat. If the base feels warm after an hour of use, you should add ventilation holes to the lamp base to allow heat to escape.
How long does the battery last?
The battery lasts between three and six hours depending on the brightness setting and total capacity.
Why is my solder not sticking?
The solder won’t stick if the metal surface is dirty or not hot enough. Clean the wire ends with rubbing alcohol before you start and ensure your iron is set to the temperature recommended by the solder manufacturer.
What happens if the wires touch?
If the positive and negative wires touch, it creates a short circuit that can damage the battery. Always use heat shrink tubing to cover your connections, as this provides a professional and safe barrier against accidental contact.
Does the type of LED matter?
Different LED bulbs require specific current levels to function safely. Always consult the datasheet for your bulb to ensure your battery pack provides the correct power for long-term use.
Conclusion
Once your project is glowing, you’ll likely want to experiment with different shades or brightness levels to change the mood in your room. Don’t be afraid to try adding a dimmer switch next time you’re at the hardware store. It’s a fun way to make your custom lighting feel even more professional.