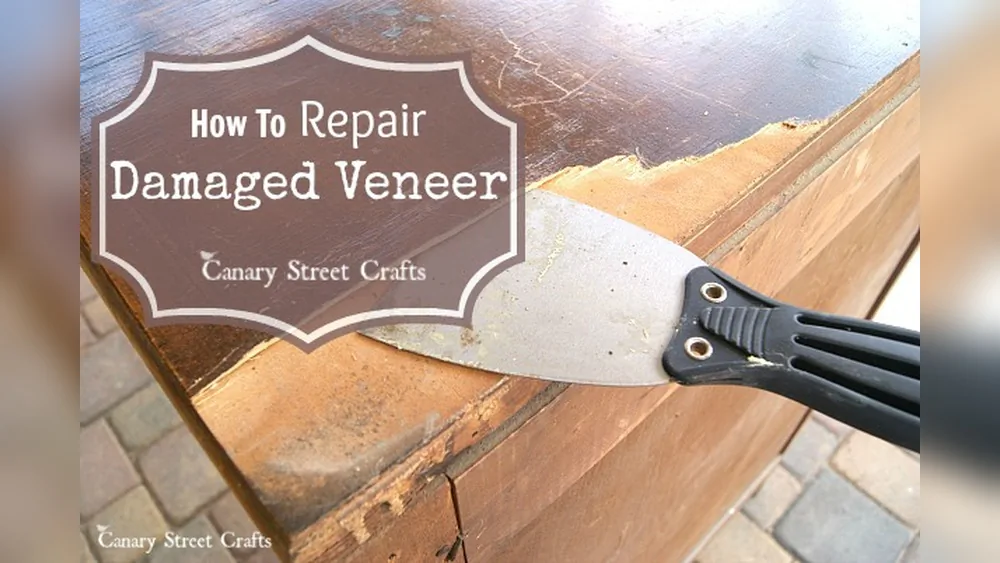
When you notice peeling, bubbling, or missing veneer on your furniture, it can feel discouraging. Veneer is a thin layer of wood glued to the surface of furniture to give it a beautiful finish. Over time, moisture, heat, and wear can cause it to come loose or crack. The good news is that you don’t need to be a professional to fix veneer. With the right steps, tools, and a bit of patience, you can restore your furniture and make it look almost new. This guide will walk you through how to fix veneer on furniture confidently, even if you’re a beginner.
Understanding Veneer Damage
Veneer problems often start small but can get worse quickly. The most common issues are peeling edges, bubbles, and missing patches. Studies show that up to 70% of vintage wooden furniture sold online has some veneer damage. If you want your furniture to last longer and look good, fixing veneer is essential.
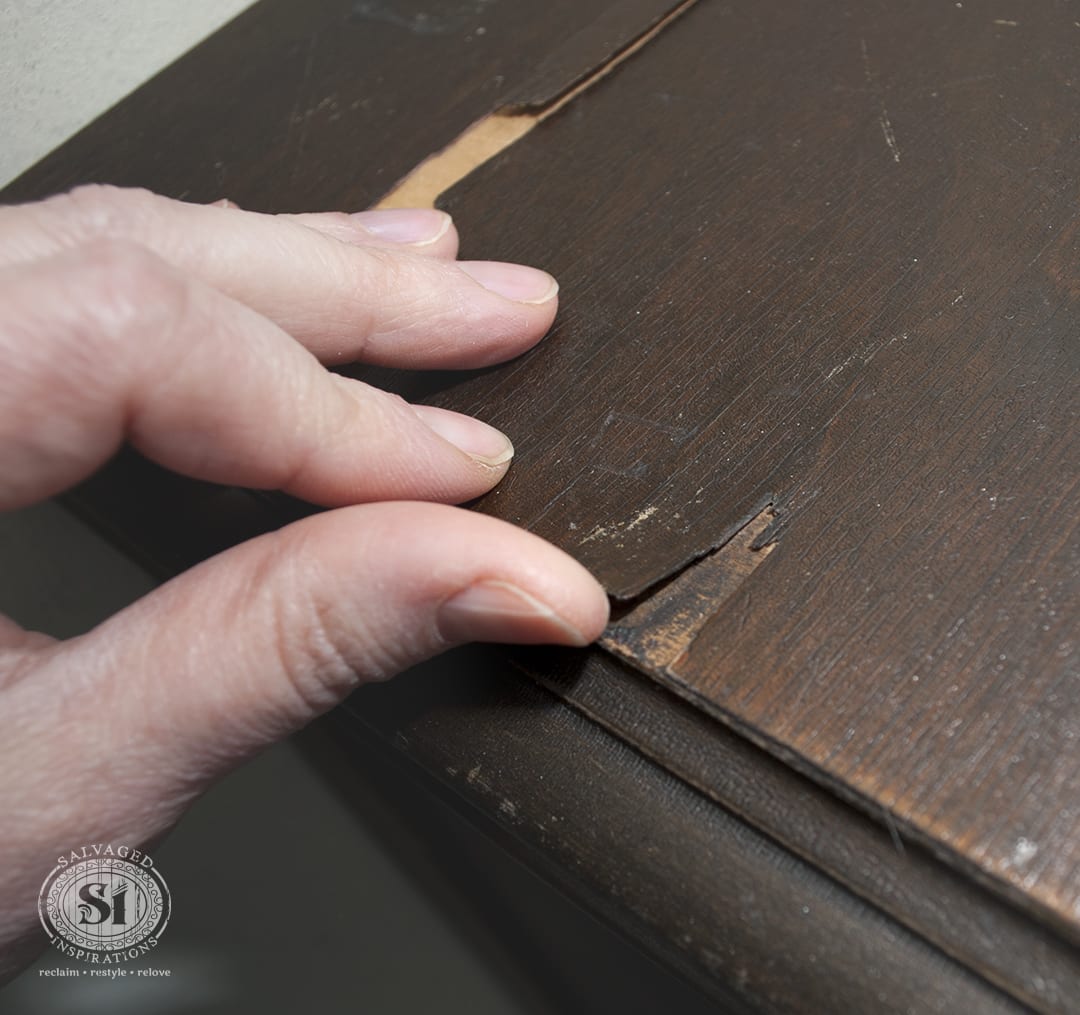
A simple visual check can help identify the damage. Look for:
- Raised bubbles: These are usually caused by moisture.
- Loose edges: Often from repeated bumps or cleaning.
- Missing veneer: Common on corners and edges.
Knowing the damage helps you choose the right repair method.
Tools And Materials You Need
Before you start, gather the following:
- Utility knife
- Wood glue (PVA or carpenters glue)
- Veneer patch (matching wood type)
- Clamps or heavy books
- Fine sandpaper (220 grit)
- Putty knife
- Clean cloth
- Stain or finish (to match your furniture)
- Wood filler (for gaps)
- Masking tape
If you need to buy veneer, choose a thickness similar to your furniture. Most commercial veneer is about 0.6 mm thick.
Step-by-step Guide To Fixing Veneer
1. Repairing Peeling Veneer
Peeling is the most common issue. Here’s how to fix it:
- Lift the loose veneer gently with a utility knife.
- Clean underneath with a dry cloth to remove dust.
- Apply wood glue under the veneer. Don’t use too much—just enough to cover the surface.
- Press the veneer down and wipe off extra glue.
- Clamp the area or use heavy books for at least 8 hours.
- Remove clamps and check. If edges lift, repeat the process.
Pro tip: Masking tape can hold small areas instead of clamps.
2. Fixing Bubbles In Veneer
Bubbles appear when moisture gets trapped under the veneer.
- Use a sharp knife to make a small slit in the bubble.
- Inject wood glue with a syringe or toothpick.
- Press down firmly and cover with masking tape.
- Place a weight on top overnight.
Most bubbles disappear if you act quickly. Waiting too long can cause cracks.
3. Replacing Missing Veneer
Missing patches need a new piece of veneer.
- Cut a matching veneer patch slightly larger than the missing area.
- Trim edges for a perfect fit using a utility knife.
- Apply glue to both surfaces.
- Press the patch into place and clamp it.
- Let it dry for 8–12 hours.
- Sand edges gently with fine sandpaper.
- Stain or finish to match the original color.
It’s important to match the grain and color. If you can’t find the exact match, staining helps blend the repair.
4. Filling Small Gaps
Tiny gaps at the edges can be filled easily.
- Apply wood filler with a putty knife.
- Let it dry fully (about 30 minutes).
- Sand smooth and finish with stain.
Don’t overfill; a thin layer is enough.
Comparing Veneer Repair Methods
Different methods suit different types of damage. Here’s a quick comparison:
| Damage Type | Best Repair Method | Time Needed | Skill Level |
|---|---|---|---|
| Peeling | Glue & Clamp | 8 hours | Beginner |
| Bubbles | Slit & Glue | 12 hours | Beginner |
| Missing Patch | Patch & Glue | 12 hours | Intermediate |
| Small Gaps | Wood Filler | 1 hour | Beginner |
Tips For Better Results
Repairing veneer is simple, but a few smart tips can make your job easier:
- Always test glue on a small area first.
- Use a matching wood stain for invisible repairs.
- Sand gently—too much can damage the veneer.
- Work in a clean, dry space to avoid dust in the glue.
Many beginners miss the importance of drying time. Rushing can cause the veneer to lift again. Another common mistake is using too much glue, which can seep out and stain the surface.
Common Veneer Types And Their Challenges
Different veneer types can react differently during repair. Here’s a quick look:
| Veneer Type | Repair Difficulty | Common Issues |
|---|---|---|
| Oak | Easy | Peeling edges |
| Walnut | Medium | Color match problems |
| Mahogany | Hard | Bubbles, missing patches |
| Maple | Easy | Small gaps |
If you’re not sure which wood you have, compare the grain and color with online resources. For more detail on veneer types, visit Wikipedia.

Preventing Veneer Damage
Repair is good, but prevention is better. Keep your furniture away from direct sunlight and moisture. Use coasters and mats. Regularly dust and clean with a dry cloth. Avoid harsh cleaners that can weaken the glue.
Frequently Asked Questions
How Do I Match The Color Of The Repaired Veneer?
Matching color is tricky. Use a wood stain close to your furniture’s finish. Test on a hidden spot first. If the color is off, mix stains or ask a hardware store for advice.
Can I Fix Large Areas Of Missing Veneer?
Yes, but it takes more time. Cut a big patch, glue it, and clamp well. Large repairs may need sanding and finishing to blend in completely.
Is It Possible To Repair Veneer Without Special Tools?
Some repairs need only basic tools like a knife, glue, and a heavy book. For bubbles, a syringe helps, but it’s not essential. Clamps are best but masking tape can work for small spots.
What If The Veneer Keeps Peeling After Repair?
Repeated peeling means moisture is still affecting the area or the glue isn’t strong. Try a different glue type, ensure proper drying, and check for leaks or humidity near the furniture.
How Long Does A Veneer Repair Last?
A good repair can last for years if the furniture is cared for. Avoid water, heat, and rough cleaning. Most repairs with quality glue and matching veneer stay strong for 5–10 years.
Restoring veneer isn’t just about fixing damage—it’s about preserving the beauty and value of your furniture. With careful steps and patience, you can handle most repairs yourself. Whether you’re fixing a family heirloom or a thrift store find, your furniture will look better and last longer.