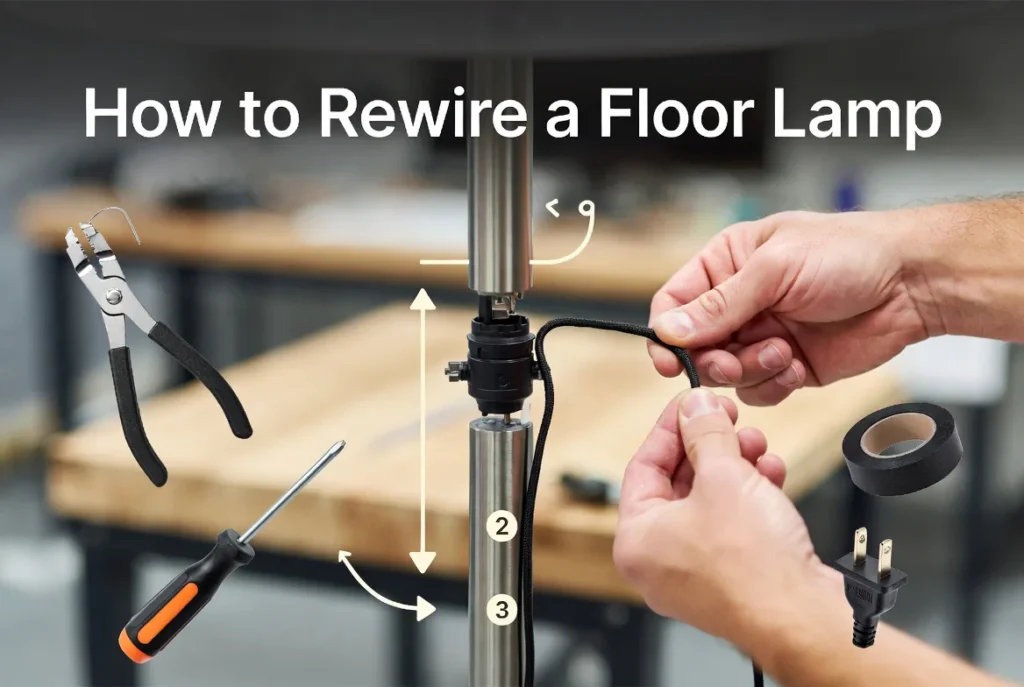
How to Rewire a Floor Lamp: A Comprehensive DIY Guide for Beginners and Enthusiasts
Floor lamps are stylish accents that add ambient lighting and visual interest to any space. But the electrical cord, socket or internal wiring can become worn, frayed or fail over the years from frequent use or accidental damage. Learning how to rewire a floor lamp is a handy skill that will save you money on replacements and prolong the life of a prized piece of furniture. This detailed guide will guide you step-by-step through the entire process, from safety precautions to final testing, so you can complete the project confidently and safely. Whether you are a DIY beginner or an experienced hobbyist looking to update vintage or modern floor lamps, this post has you covered.
Why Do You Want to Rewire Your Floor Lamp?
Before getting into the how to, let’s understand the importance. A faulty lamp cord can be unsafe, particularly if the insulation breaks open and exposes the wires. Old wiring might not meet modern safety standards , and could deliver power inefficiently or create short circuits . Rewiring brings back functionality, improves safety and often lets you customise, such as choosing a decorative cord that matches your decor. Old electrics, but many of the floor lamps from mid-century have beautiful bases. Learning this skill keeps history alive, but updates it for today’s needs.

This is a long and involved tutorial, at over 2700 words, because it covers all the bases, including different lamp styles (single-socket versus multi-light, bridge-arm, torchiere, etc.,) variations, troubleshooting deep dives, material science explanations, and long-term maintenance strategies.
Safety First: Must Take Caution
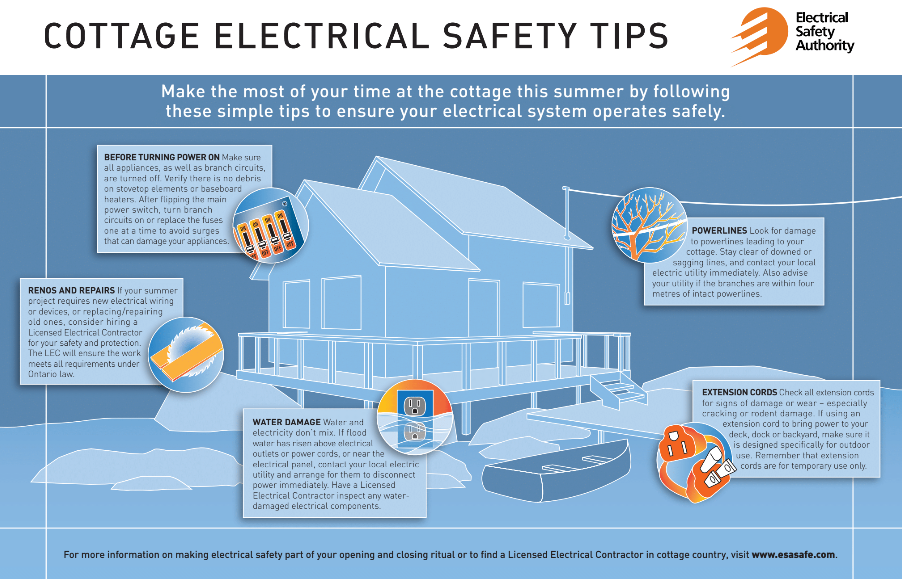
“Electricity is not a thing you play with. First off, always unplug the lamp before you start. Wear insulated gloves and protective glasses. Ensure the work area is dry and well lit. If you are unsure about any of the steps or have a lamp that is wired into a complicated system, call a licenced electrician. Never work on live circuits.
Important safety rules:
- Ensure the lamp is unplugged and the switch is off.
- Only UL-listed replacement parts.
- Don’t overload circuits. Floor lamps use 60-150 watts.
- Look for hidden damage like cracked bases that could expose wires.
- Keep children and pets away while you work.
- Keep a fire extinguisher handy, just in case.
What is Voltage and Amperage All regular home lamps run on 120V in North America. For normal loads, the cord should be 18 gauge wire minimum. Overheating happens when wires that are too small carry too much current, melting the insulation. Original specs were always met or exceeded.
The usual hazards are shock from residual capacitance (rare but possible on old capacitors) or fire from bad connections causing arcing. Lamps don’t always have a proper ground. Polarised plugs help. If your lamp has a metal base, make sure no exposed hot wires are touching it.

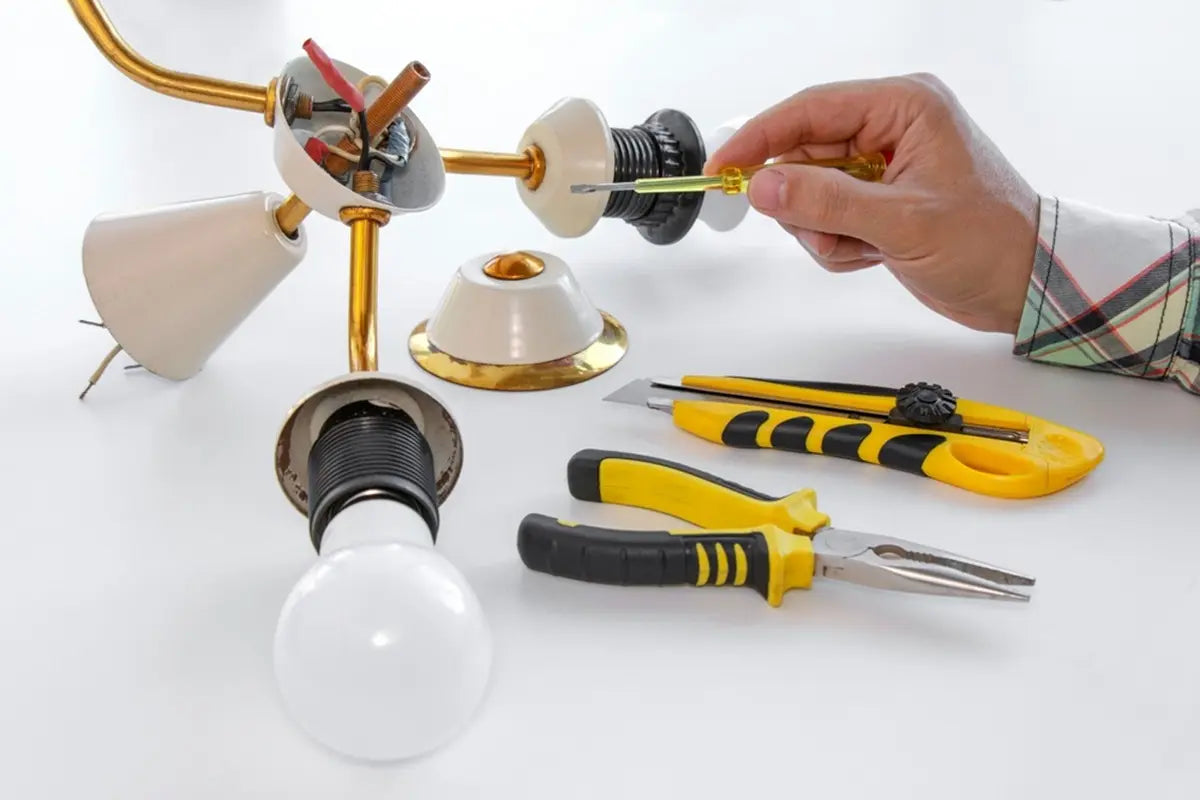
Tools and Materials Needed
Having the right supplies means no trips to the store halfway through a project. Here is the complete list:
:max_bytes(150000):strip_icc()/how-to-rewire-a-lamp-5075744-hero-870a84c93e524918b03b0c15b9d3c6cb.jpg)
Tools:
- Wire cutters / strippers.
- Needle nose plier
- Screwdrivers (flathead and Phillips, assorted sizes)
- Utility knife
- Multimeter / continuity checker
- Electrical tape.
- Heat shrink tubing (optional for pro finish)
- Lamp harp removal tool (or pliers, carefully)
- Mini torch
Materials:
- Replacement lamp cord, SPT-1 or SPT-2, 18/2 gauge, preferably cloth-covered for vintage look
- New socket (keyless or switch, same base)
- Plug (polarised if replacing old non-polarised)
- Crimp connectors or wire nuts
- Cord clips or zip ties for strain relief
- Replacement shade (if needed)
- Difficult thread lubrication (WD-40)
Why particular gauges? 5-7 amps for lamps safely handled with 18 gauge. Thicker 16-gauge for more heavy duty torchiere lamps. Cloth-covered cords look good, but check heat ratings.

Cost: Expect $15-40 for basic parts. The decorative cords on the high-end lamps are more expensive, but they do make the lamp look better.
Floor Lamp Anatomy 101
A standard floor lamp is made of:
- Lower base/weighted
- Pole or stem, often hollowed out for routing a cord.
- Top of socket assembly
- Shades and Harp Support
- Switch (inline or on socket) *
- Structure thru cord
- Screw
Variations do exist: Some have multiple bulbs, touch sensors, dimmers or weighted bases with access panels. Some older lamps have set screws or glued parts. Disassembly takes patience so the threads don’t get damaged.
The usual path of the cord is into the base, up the pole and into the socket terminals. Silver screw to neutral (ridged or white) Brass to hot (smooth or black) With polarised plugs polarity matters for safety .
Rewiring Procedure – Step by Step
Step 1: Preparing and Deconstructing
Unplug the lamp, and place it on a soft surface. Remove the shade and the bulb. Loosen the harp, if any. Unscrew the socket shell carefully. Notice the position of the cardboard insulator that many sockets use.
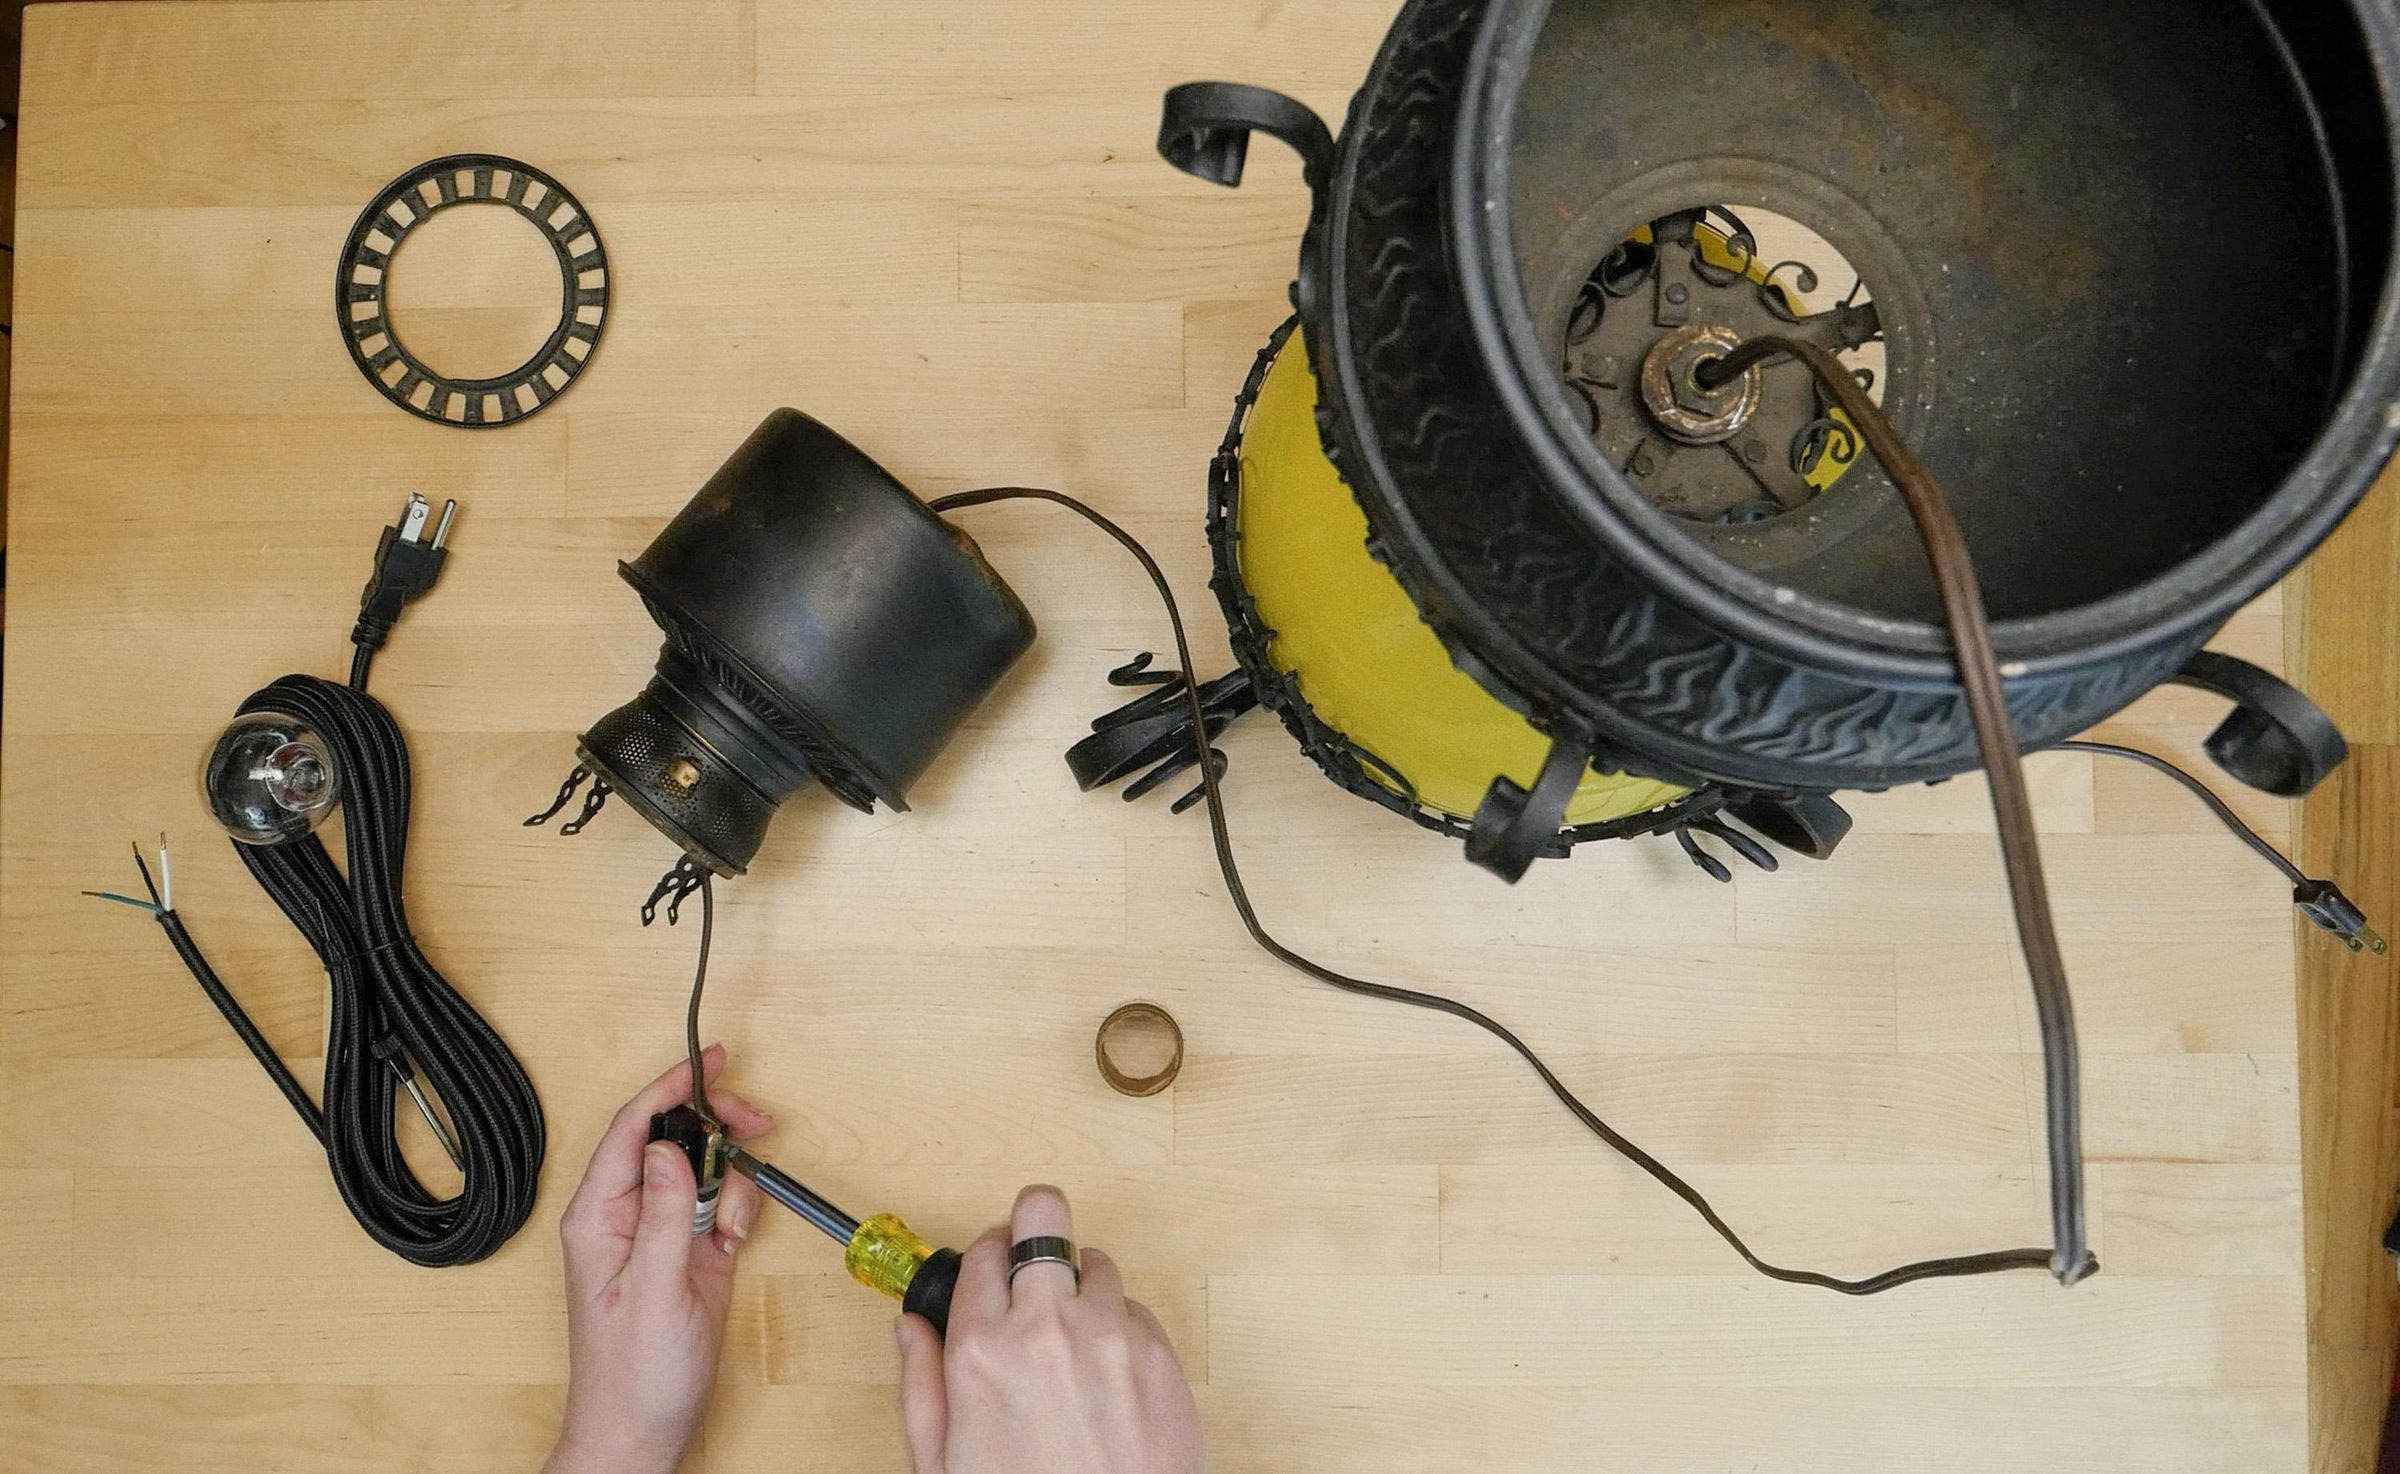
Base: Search for a bottom plate or access hole. Some bases unscrew, others require a felt pad to be pried up (replace later). Ease out the old cord slowly, noting routing so as not to kink it.
Take pictures at each step for reference. Mark wires with tape “Hot” and “Neutral.”
This step can take 30-60 minutes depending on the age and design of the lamp. Rusty screws may need a bit of penetrating oil and gentle persuasion.
Step 2. Remove Old Wiring
Cut the old cord close to the plug and socket. Run it through the flagpole. If you get stuck use a fish tape or string to pull new cord in later. Look inside pole for debris, clean with compressed air.

Look at the old socket to burn out, melted plastic, blackened terminals, etc. Recycle the copper from the old cord if possible . Dispose of the old cord responsibly .
Step 3: Making a New Cord
Measure and cut new cord to length with an additional 6-12 inches. Strip off about 1 inch of insulation from the outer jacket on each end and then ½ inch from the individual wires. Twist strands tightly to avoid fraying.

Switch lights inline: Place the switch about halfway down the cord. Strip carefully so as not to nick the conductors.
Step 4: Fit the new stopper
Put on a polarised plug. Neutral ( white or ribbed ) is attached to the wider prong . Fasten with screws or crimps Inside the plug, tie an underwriter’s knot to take the strain off and prevent the wires being pulled out.
Step 5: Install New Cord
Run the cord up through the pole from the bottom. Use string if necessary: Pull and tie to end of new cord. Secure at base with knot or clamp to prevent slip. Ensure it goes smoothly, no sharp bends that will wear insulation over time.
Step 6: Wire the socket
Attach wires to socket, hot to the brass terminal and neutral to the silver terminal. Wrap clockwise around screws for solid hold. Install insulators and socket shell. Tighten the set screws.

For 3-way sockets (common in floor lamps): Follow terminal markings, usually two brass for filaments, one silver neutral.
Step 7: Reassembly
Re-attach harp, shade and baseplate. Ensure that all parts are aligned and tightened firmly, but not too tight to prevent cracking of either the ceramics or metals.
Step 8: Testing
Plug in, try out with a bulb. Make sure multimeter is continuous before powering. After 15 minutes of use, check for heat.

Advanced Techniques and Variations
Multi-socket or Tree Lamps: separate wiring or parallel connections to each arm. Total load calculation.
Touch or Dimmer Lamps: Require compatible electronic components. Standard rewiring may disable features, consider replacing the entire control module.
Vintage Or Antique Lamps: Use period correct cloth cord to keep the original appearance. Manufacturer for research
Outdoor or Heavy-Duty Floor Lamps Use weatherproof cords and GFCI protection.
Rewiring? Consider adding modern tech like USB ports or smart features but make sure it’s properly isolated.
Each variation makes it more complex. Often the arm socket is wired separately for bridge lamps.
Solving typical problems
- Check bulb, connections and continuity if lamp does not illuminate.
- Flickering: Bad contact or loose wires.
- Overheating Cord too small or too short.
- Cord won’t feed: lubricate or use fish tape.
- Switch Failure: Replace the inline or socket switch.
Deep dive: Intermittent issues are often caused by broken strands inside the cord from repeated flexing. Resistance test on multimeter shows this (should be near zero ohm).
Tips for Maintenance & Durability
After re-wiring:
- Dust frequently.
- Check cord for wear annually.
- Don’t use extension cords.
- Use LED lights to reduce heat/load.
- Correct storage when moving.
New wiring life expectancy: 10-20+ years with proper care. For example, sunlight causes rubber insulation to deteriorate faster than cloth.
Cost-Benefit Analysis and When to Call in a Pro
DIY: Save $50-200 (vs pro or new lamp) Time investment: 2-4 hours for Newbies. If lamp has complex electronics, valuable antiques or you’re uncomfortable with electricity, get help. Your insurance may not cover DIY mistakes.
Environmental and Sustainability Perspective
Rewiring enables a circular economy: reuse, not landfill. Old lamps have metals and plastics that can be salvaged. Opt for eco-friendly cords made from recycled materials where possible.
Community Histories and Personal Experiences
Many DIYers speak of bringing grandmother’s lamp back to life, making it a family heirloom. Photo inspiration can be found on forums like Reddit’s r/DIY or Instructables. Patience is the mother of prevention.
In-Depth Science of Components
Insulation for lamp cord . Rubber is more durable , and PVC is more flexible . Conductors are stranded copper for bending resistance. Socket material: Heat resistant phenolic. Knowing these helps to make upgrades.
Legal & Code Issues
Follow NEC guidelines for low voltage lamps as well. If renting, check rules of landlord. Permits are rarely needed for small appliances but best practices are.
Related Projects to Boost Your Skills
When you’re comfortable, move on to table lamps, ceiling fixtures or even building custom lamps. Soldering is a good skill to learn for permanent joints (but screw terminals work).
Conclusion: Light Up Your Room Safely
Rewiring a floor lamp is both creative and practical, offering you the satisfaction of being both. Follow these steps carefully, prioritise safety, and enjoy your restored lighting. With practice this becomes a quick fix. Share your results in the comments or on social media. Enjoy making!